
Upload Image
AI Image Enhancer for Cleaner Photos
Clean up noisy, dark, compressed, or flat images in one pass. Improve tone, color, and detail before you publish, resize, or edit.
Samples
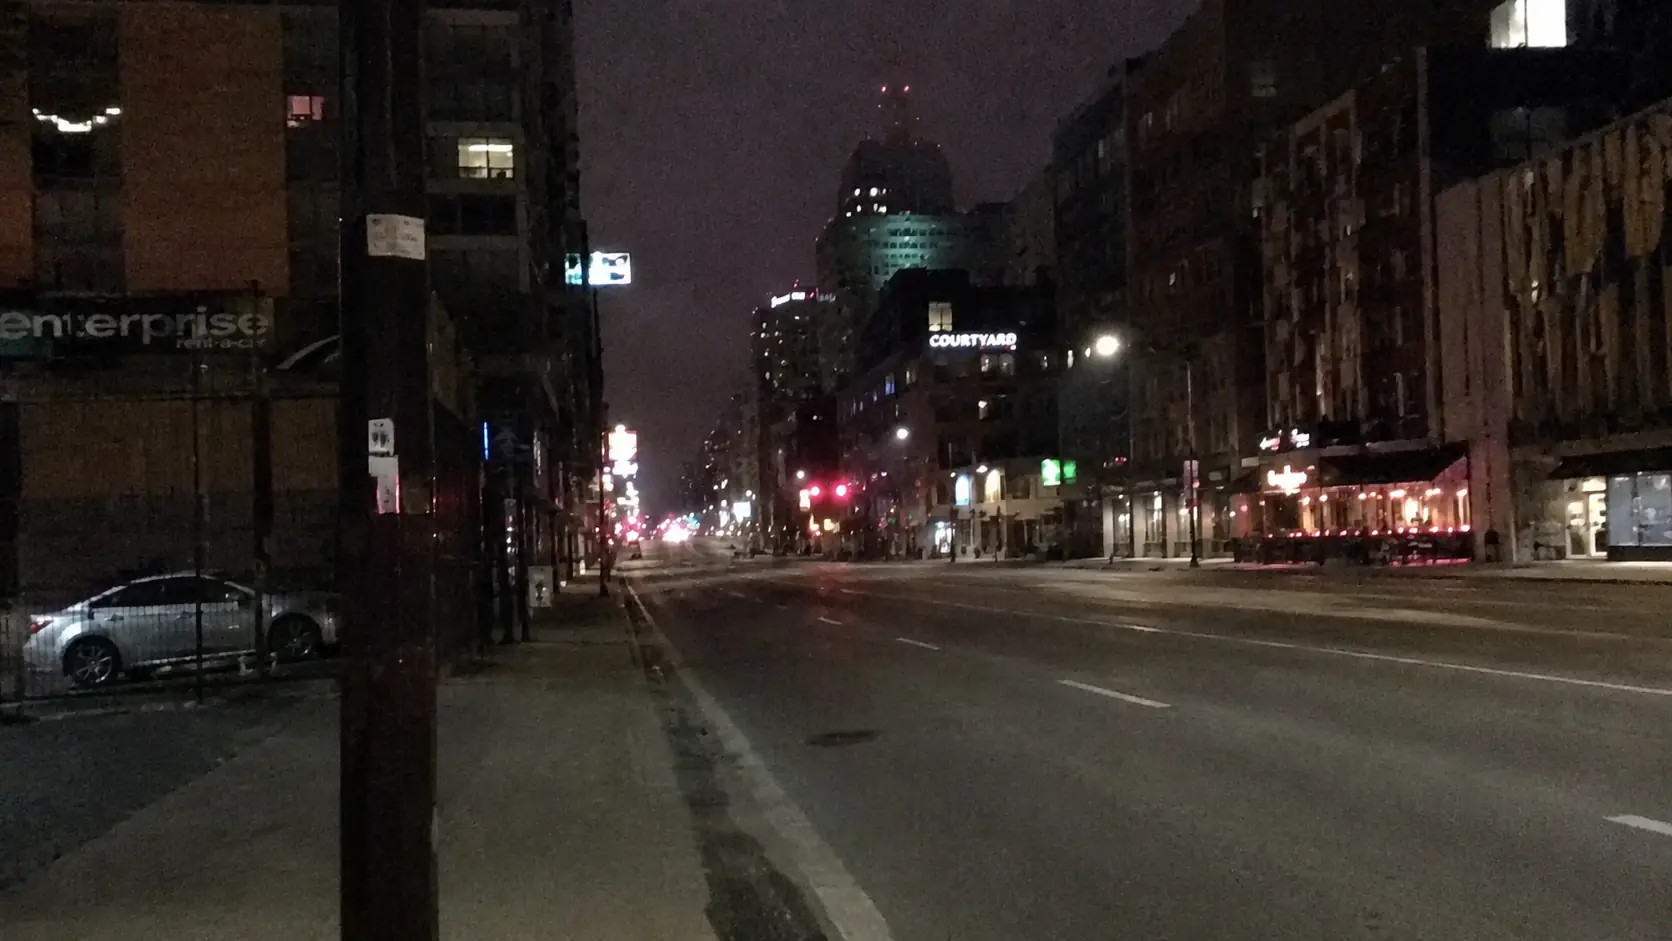
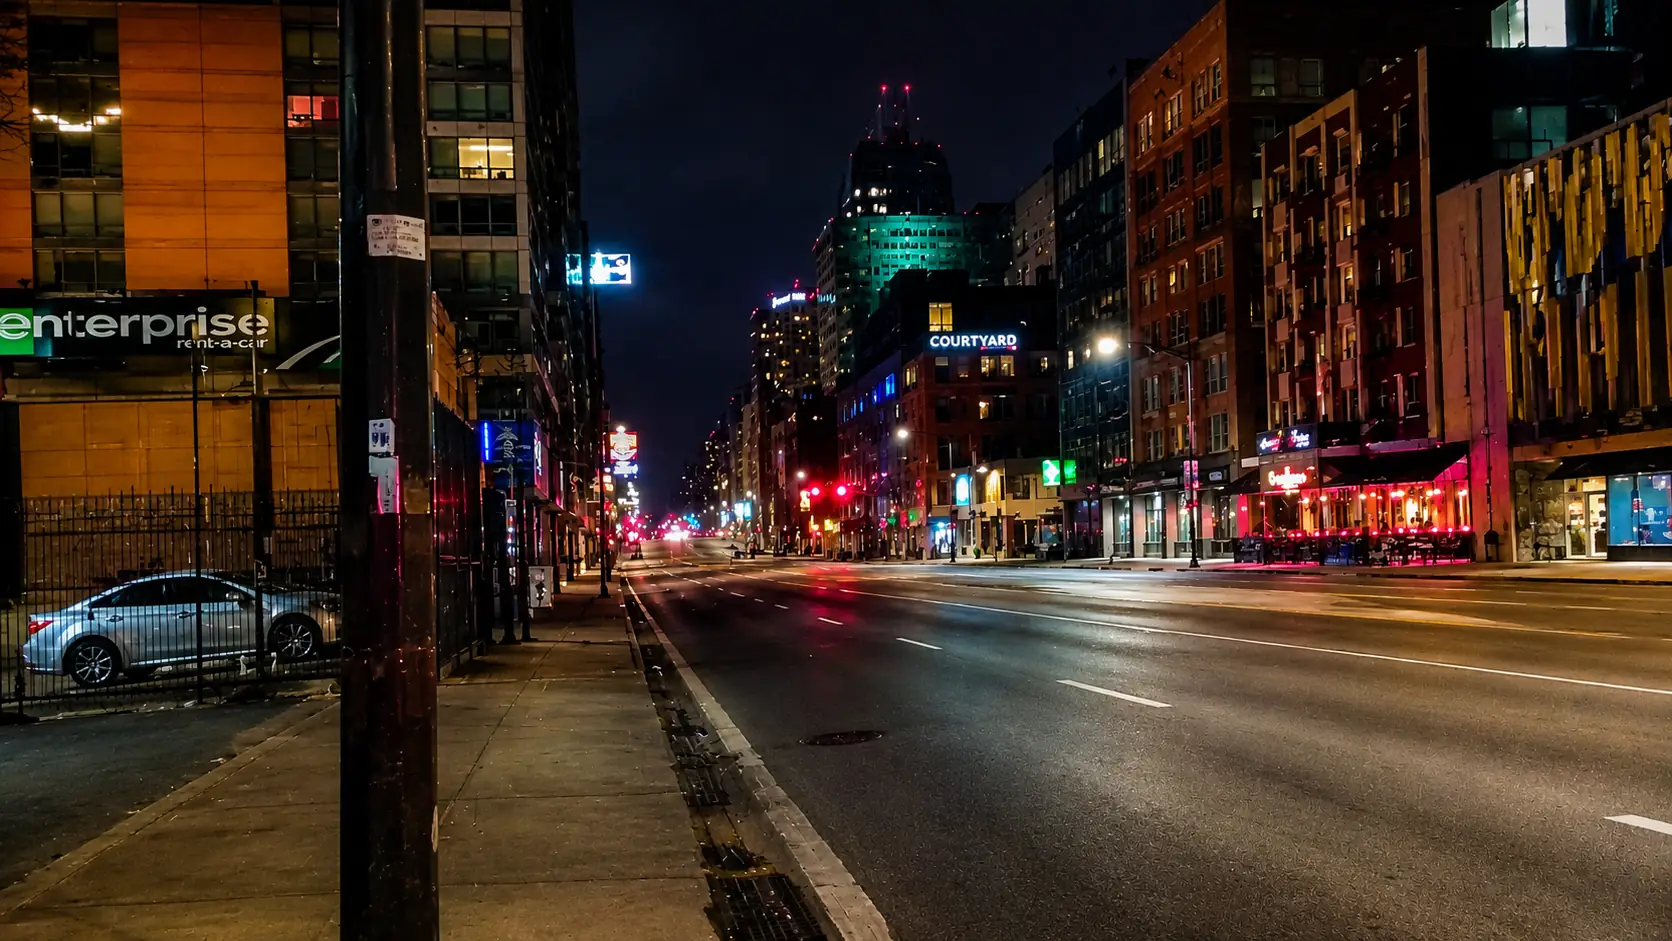
Clean up the image before the next step
- 01
Upload the image that needs cleanup
Start with the clearest PNG, JPG, WEBP, or GIF you have. A better source gives the enhancer more useful detail to keep.
- 02
Enhance the image in one pass
Click Enhance Image to improve tone, color, texture, and visible detail without writing a prompt.
- 03
Compare the important areas
Check faces, text, edges, shadows, and smooth backgrounds. These areas reveal noise, halos, and over-smoothing first.
- 04
Move to the right follow-up tool
Use Image Upscaler for a larger file, Image Sharpener for a crisper finish, or AI Image Editor when you need a specific change.
Use Image Enhancer when the file looks low quality
Choose it for noise, weak lighting, flat color, compression, and dull detail. If the image is already clean but too small, use Image Upscaler. If motion or focus caused the blur, use Unblur Image.
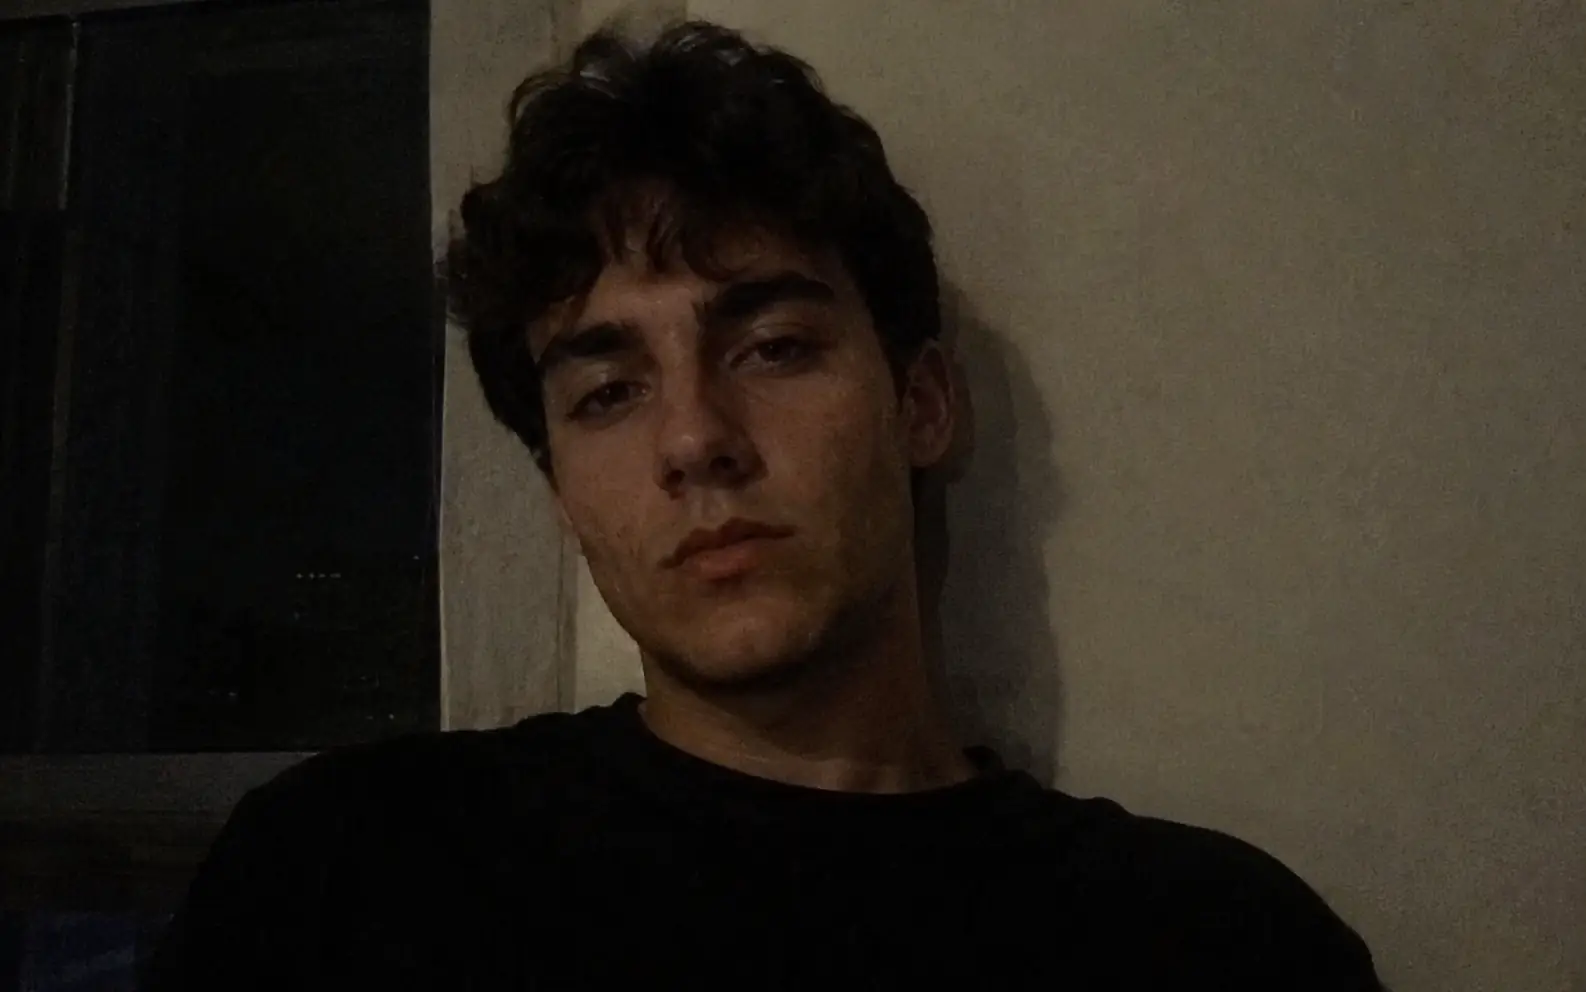
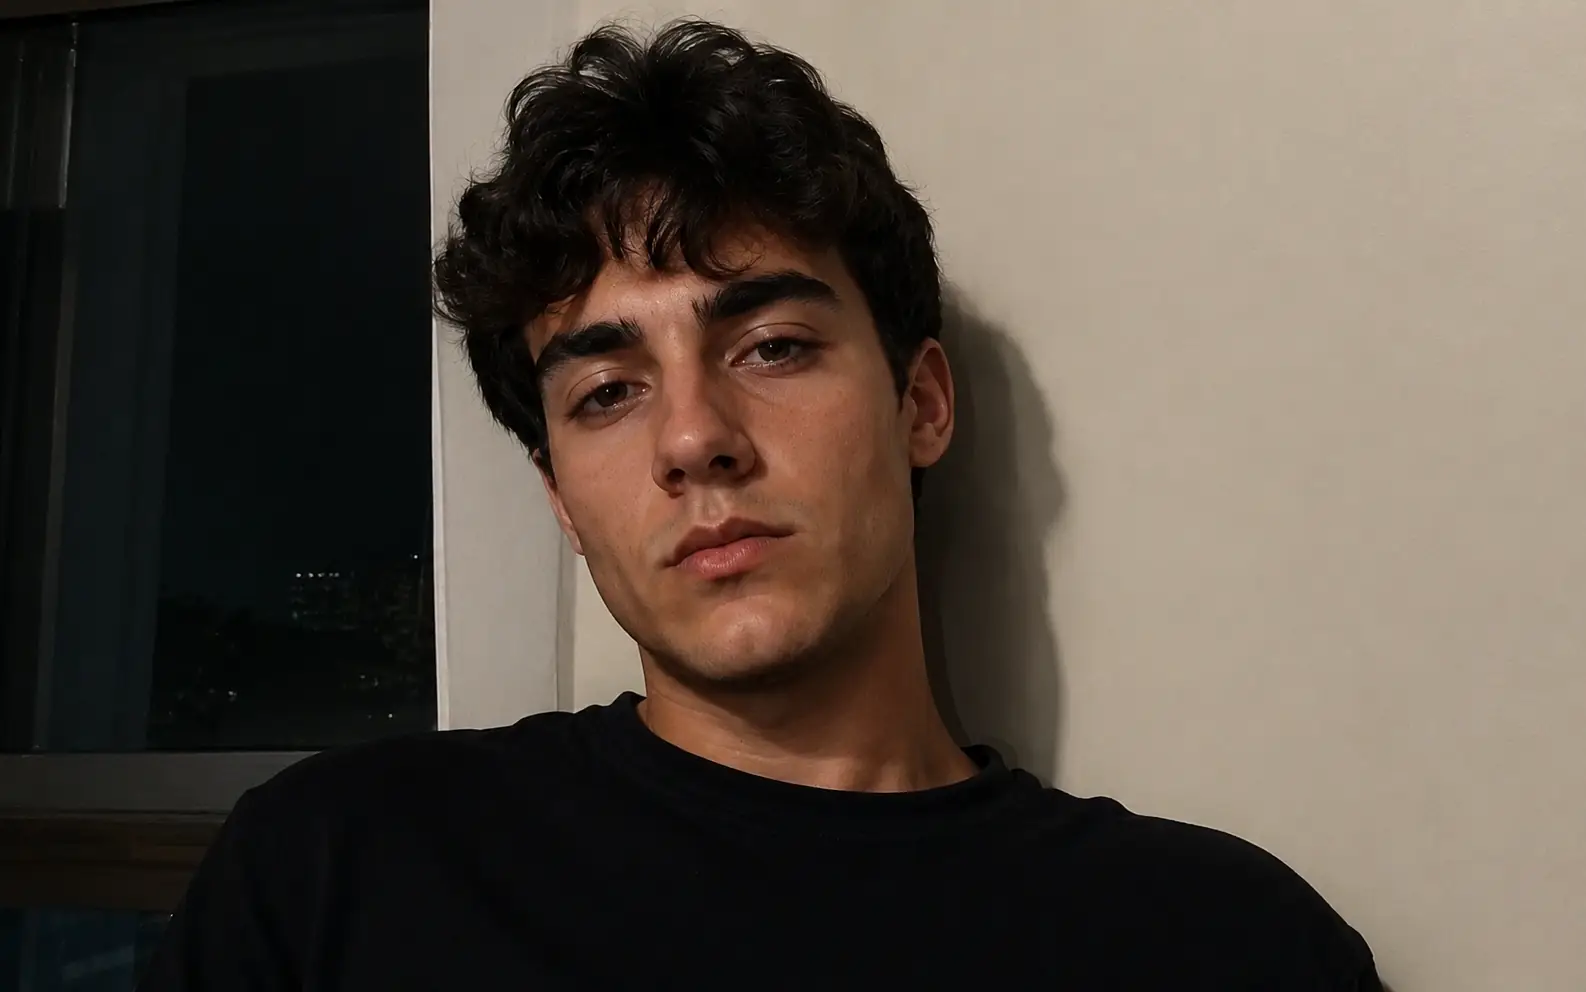
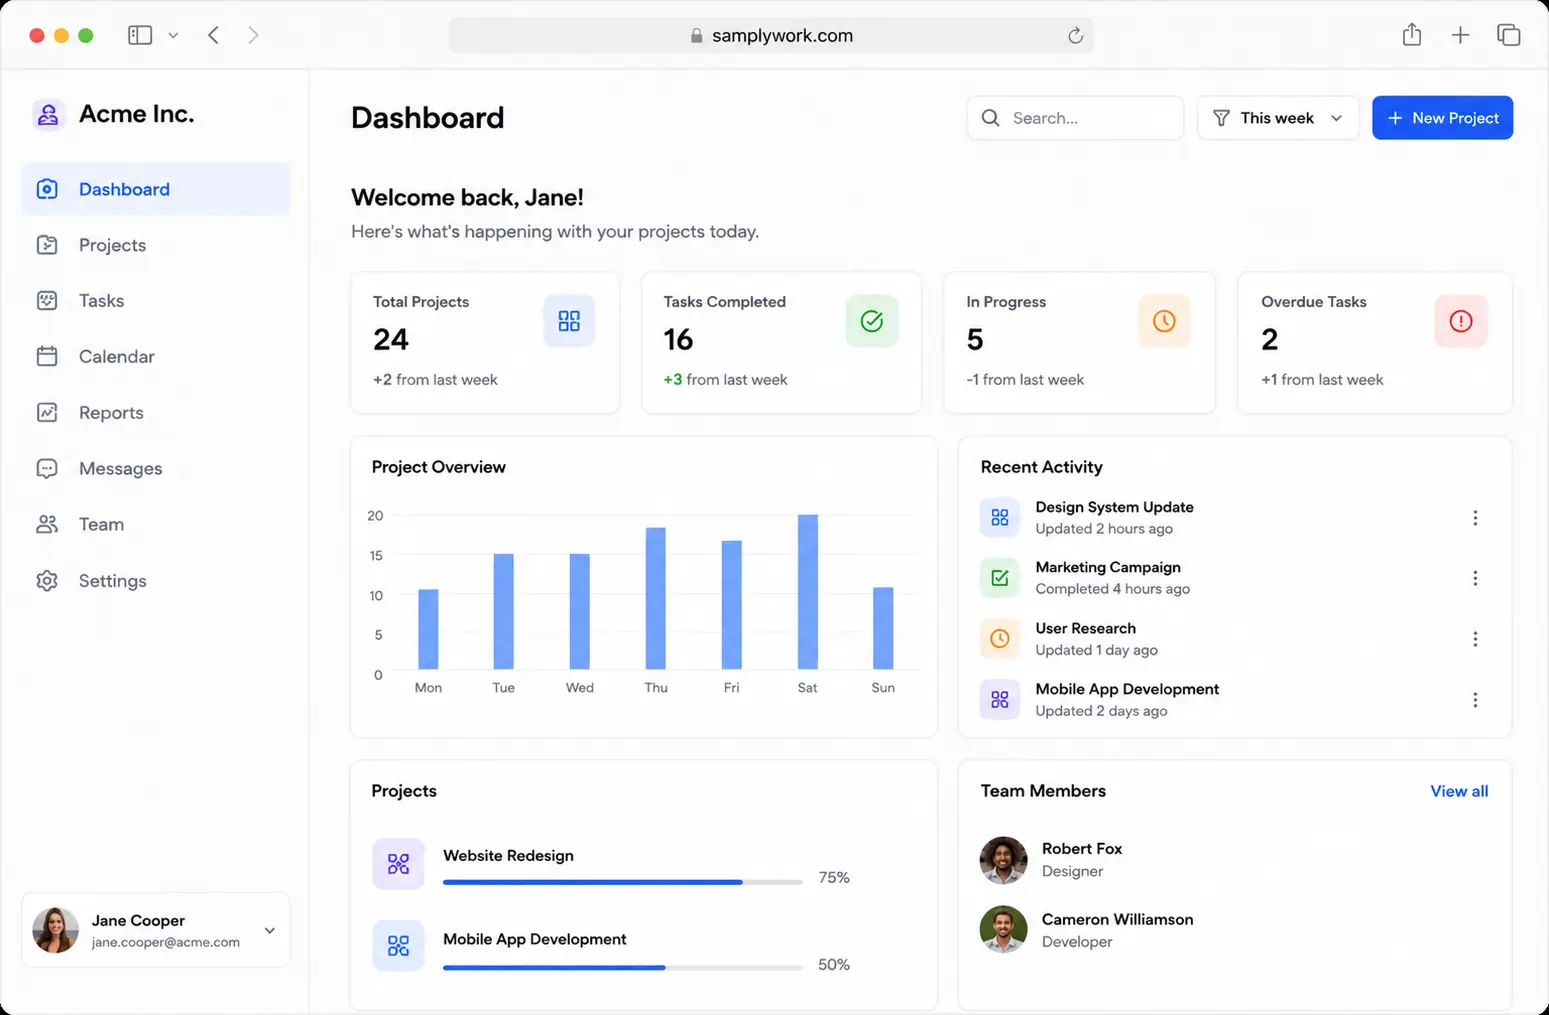
Reduce noise and compression artifacts
Clean grain, blockiness, and muddy edges in photos that were shot in low light, exported too many times, or compressed by apps.
Improve tone on faces and product shots
Balance dull color and weak contrast so skin, packaging, surfaces, and on-screen details are easier to judge.
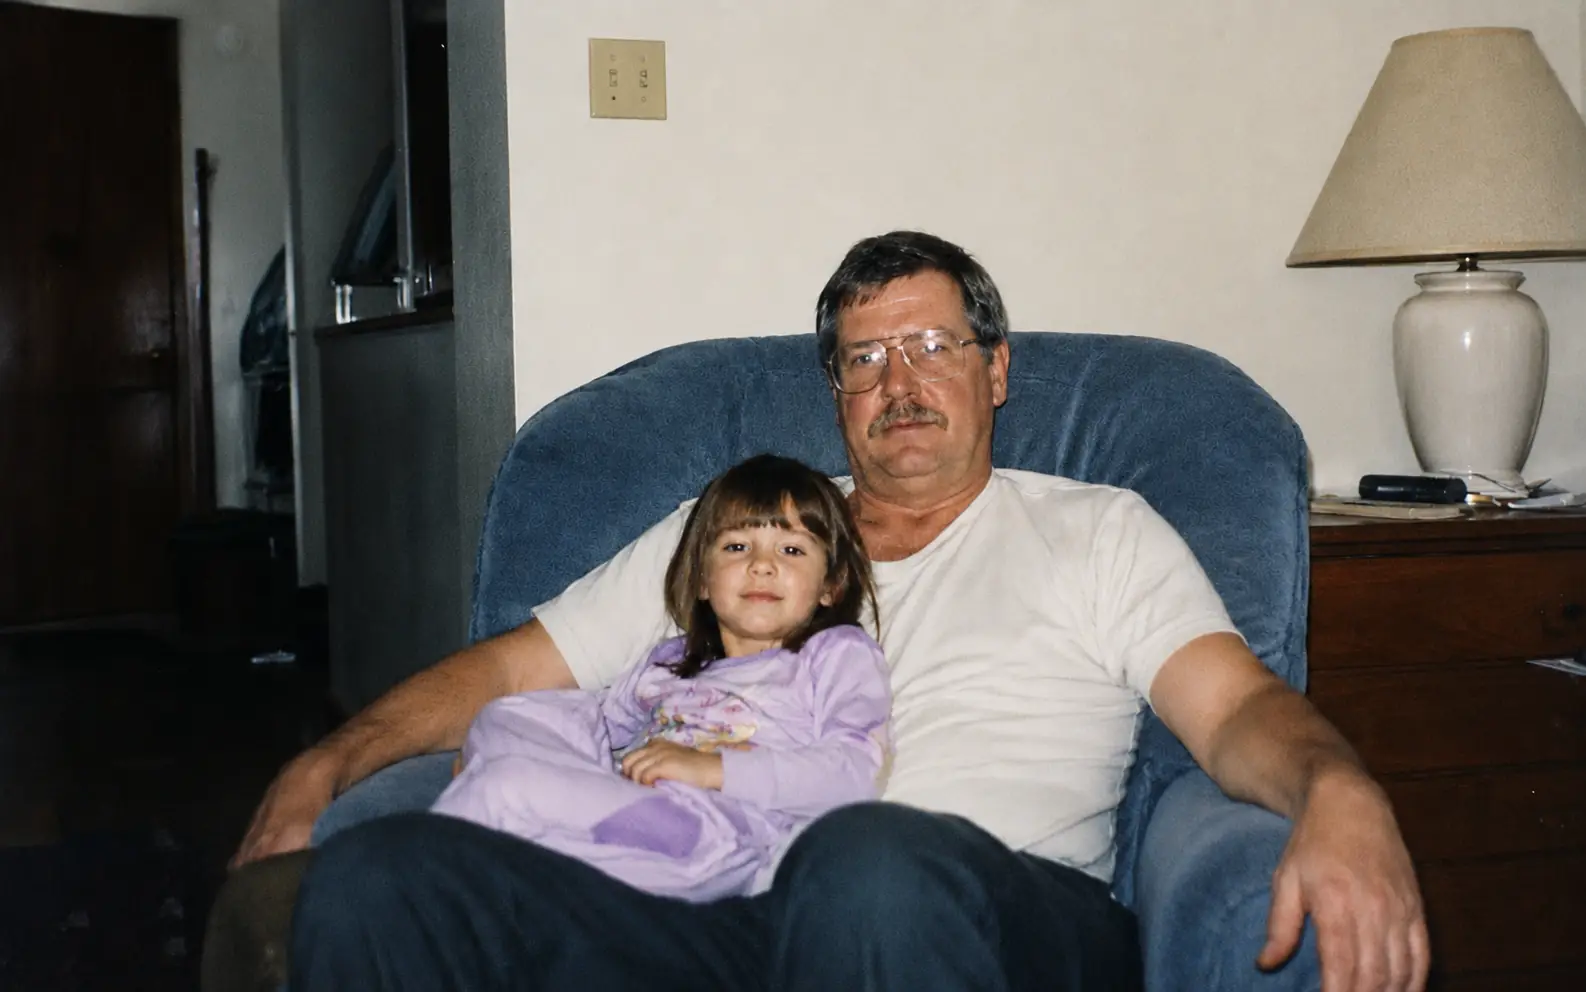
Refresh old or flat images before reuse
Recover a cleaner base from archive photos, older exports, and underlit files before resizing, sharpening, or editing.
Keep the cleanup natural
Enhancement should make the image easier to use, not make it look heavily processed. Check the parts people will inspect before you download.
Fix quality before size
Use Image Enhancer when the file looks noisy, dark, compressed, or flat. If the cleaned image still needs more pixels, use Image Upscaler next.
Use Unblur Image for motion or focus blur
If the photo is hard to read because the camera moved or the focus missed the subject, start with Unblur Image instead.
Check faces, text, and large color areas
Look at the parts people will notice first. Skin, labels, edges, shadows, and flat backgrounds show when the result looks too processed.
Judge the result at the size you will use
A file can look good in the page preview but too sharp, too smooth, or still noisy at final size. Zoom in before you download or continue editing.
Quality cleanup pass
Clean the image before you reuse it.
Use Image Enhancer when the file needs better tone, cleaner texture, or less visible noise before resizing, sharpening, or editing. If you need more pixels after cleanup, continue with Image Upscaler. If you want to change the image after cleanup, move into Image to Image or AI Image Editor.
Image Enhancer FAQ
Practical answers about cleanup, tone, and when enhancement is better than upscaling or unblurring.
When should I use AI Image Enhancer?
Use it when an image looks noisy, dark, compressed, flat, or generally low quality. It is best for improving the existing file before publishing, resizing, or editing.
Is Image Enhancer the same as Image Upscaler?
No. Image Enhancer cleans up tone, texture, color, and visible detail. Image Upscaler is for making a clean image larger.
Should I use Image Enhancer or Unblur Image?
Use Image Enhancer for noise, poor lighting, weak color, and compression artifacts. Use Unblur Image when motion blur or missed focus is the main problem.
Should I sharpen after enhancing?
Sometimes. If the enhanced image looks cleaner but still needs crisper edges or labels, use Image Sharpener after enhancement and check for halos or added noise.
What should I check before downloading?
Review faces, text, edges, shadows, and large color areas at the size you plan to use. Those spots show unwanted smoothing, noise, or over-sharpening first.
Next up
Choose your next image step
Try a nearby image workflow, compare models, or turn your result into video.
AI image tools
More image tools
Create, edit, clean up, or upscale stills.
AI models
Compare image models
Pick a better model before making more versions.
AI video tools
Make it move
Animate a still or turn it into a clip.
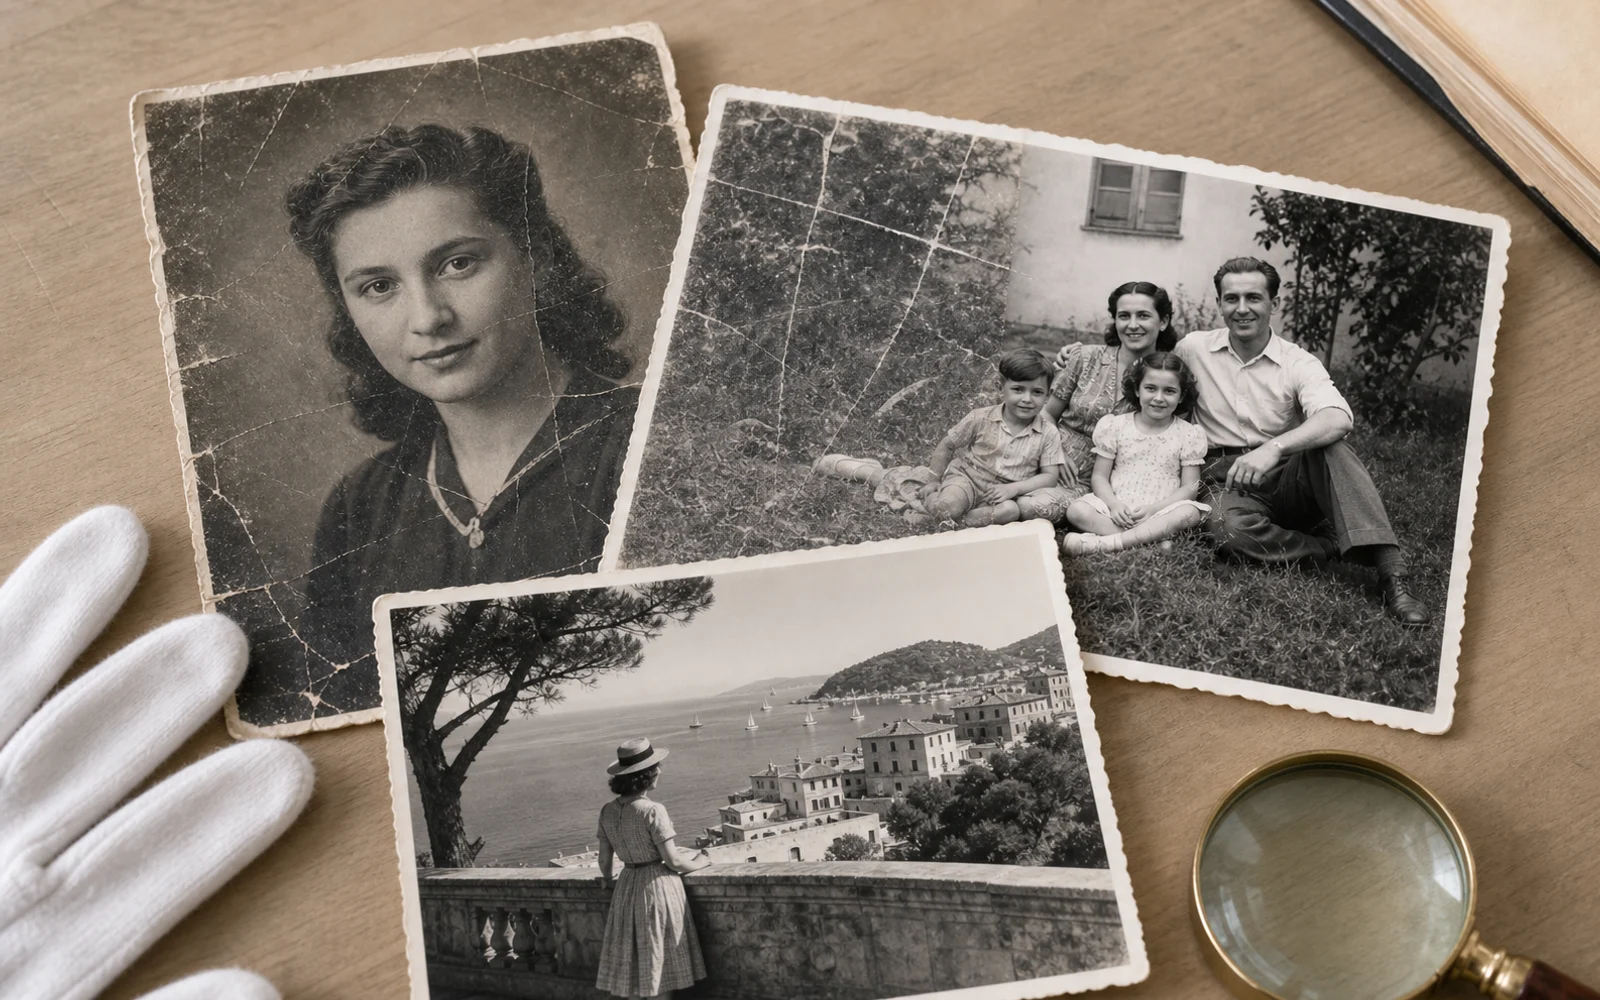
Old Photo Restoration
Repair aged photos
Reduce scratches, fading, blur, and scan damage.

Image Upscaler
Make it larger
Increase size for export or reuse.
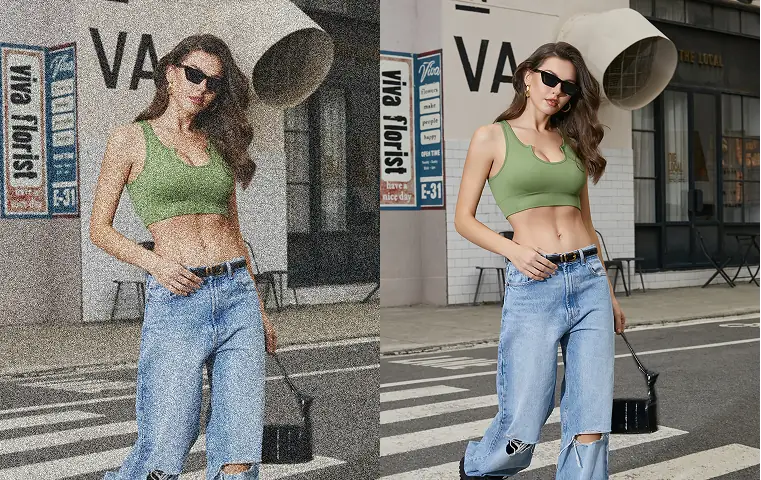
Image Sharpener
Sharpen detail
Make soft edges and small details clearer.
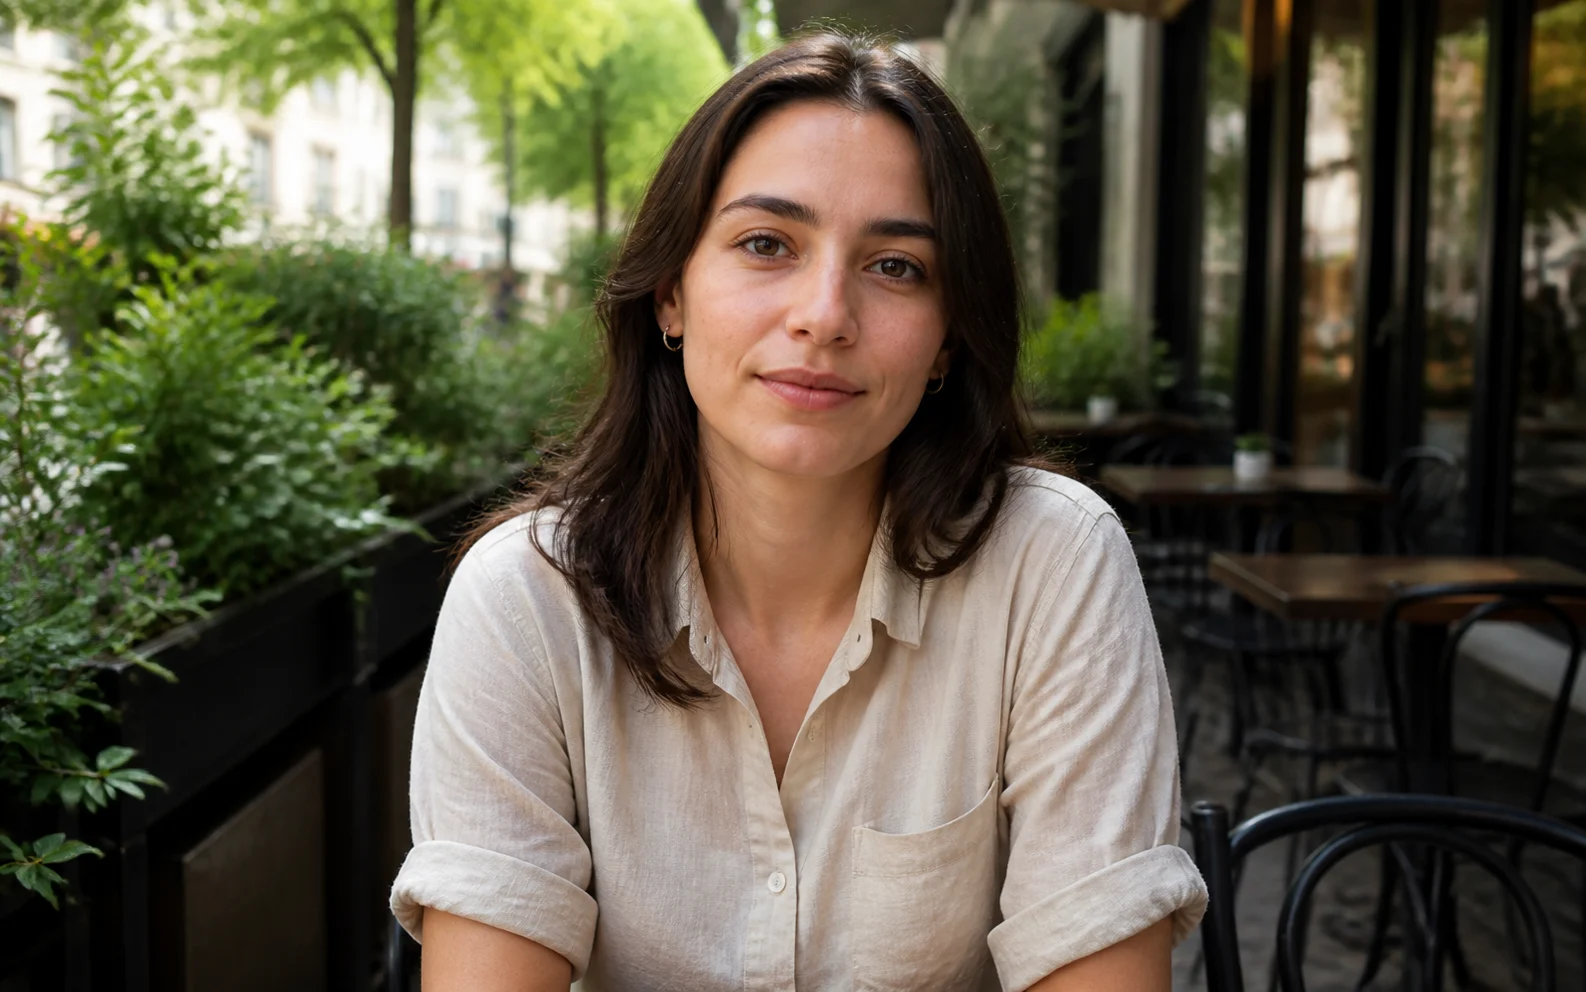
Remove Filter from Photo
Restore natural color
Reduce color casts and heavy filter effects.
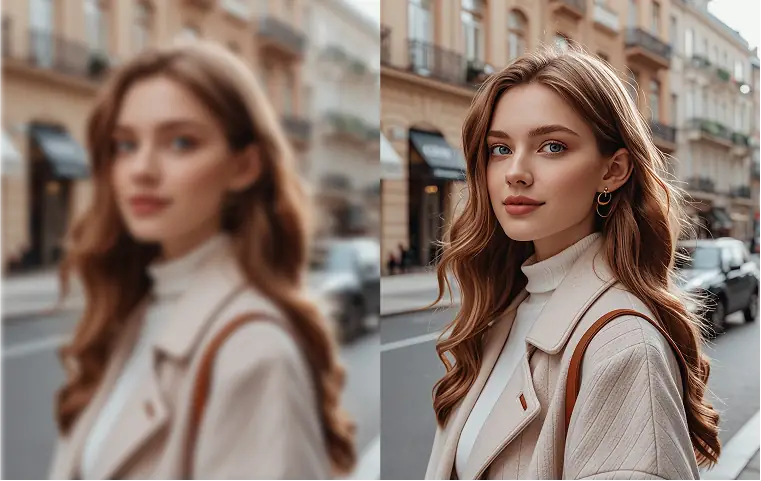
Unblur Image
Fix blur
Recover focus in blurry photos.
AI Image Editor
Prompt-based edits
Change an image without starting over.
AI image tools
More image tools
Create, edit, clean up, or upscale stills.
AI models
Compare image models
Pick a better model before making more versions.
AI video tools
Make it move
Animate a still or turn it into a clip.
Old Photo Restoration
Repair aged photos
Reduce scratches, fading, blur, and scan damage.