
Upload Image
Remove Text From Image for Clean Edits
Upload an image, describe the words you want gone, and clean captions, labels, date stamps, or text overlays while keeping the background intact.
Samples


Start with one clear text target
A focused edit is easier to judge than asking the tool to clean every word in a crowded image.
- 01
Upload one image
Choose a PNG, JPG, WEBP, or GIF where the unwanted words are easy to identify.
- 02
Identify the exact text
Name the title, label, date stamp, or caption, then add where it appears in the image.
- 03
Select Remove Text
Run one focused cleanup pass before moving on to any smaller text areas.
- 04
Compare before and after
Check whether kept text, background lines, and important details still look natural.
Where text removal helps most
Use it when text was added on top of a usable image, not when you need to redesign the whole graphic.

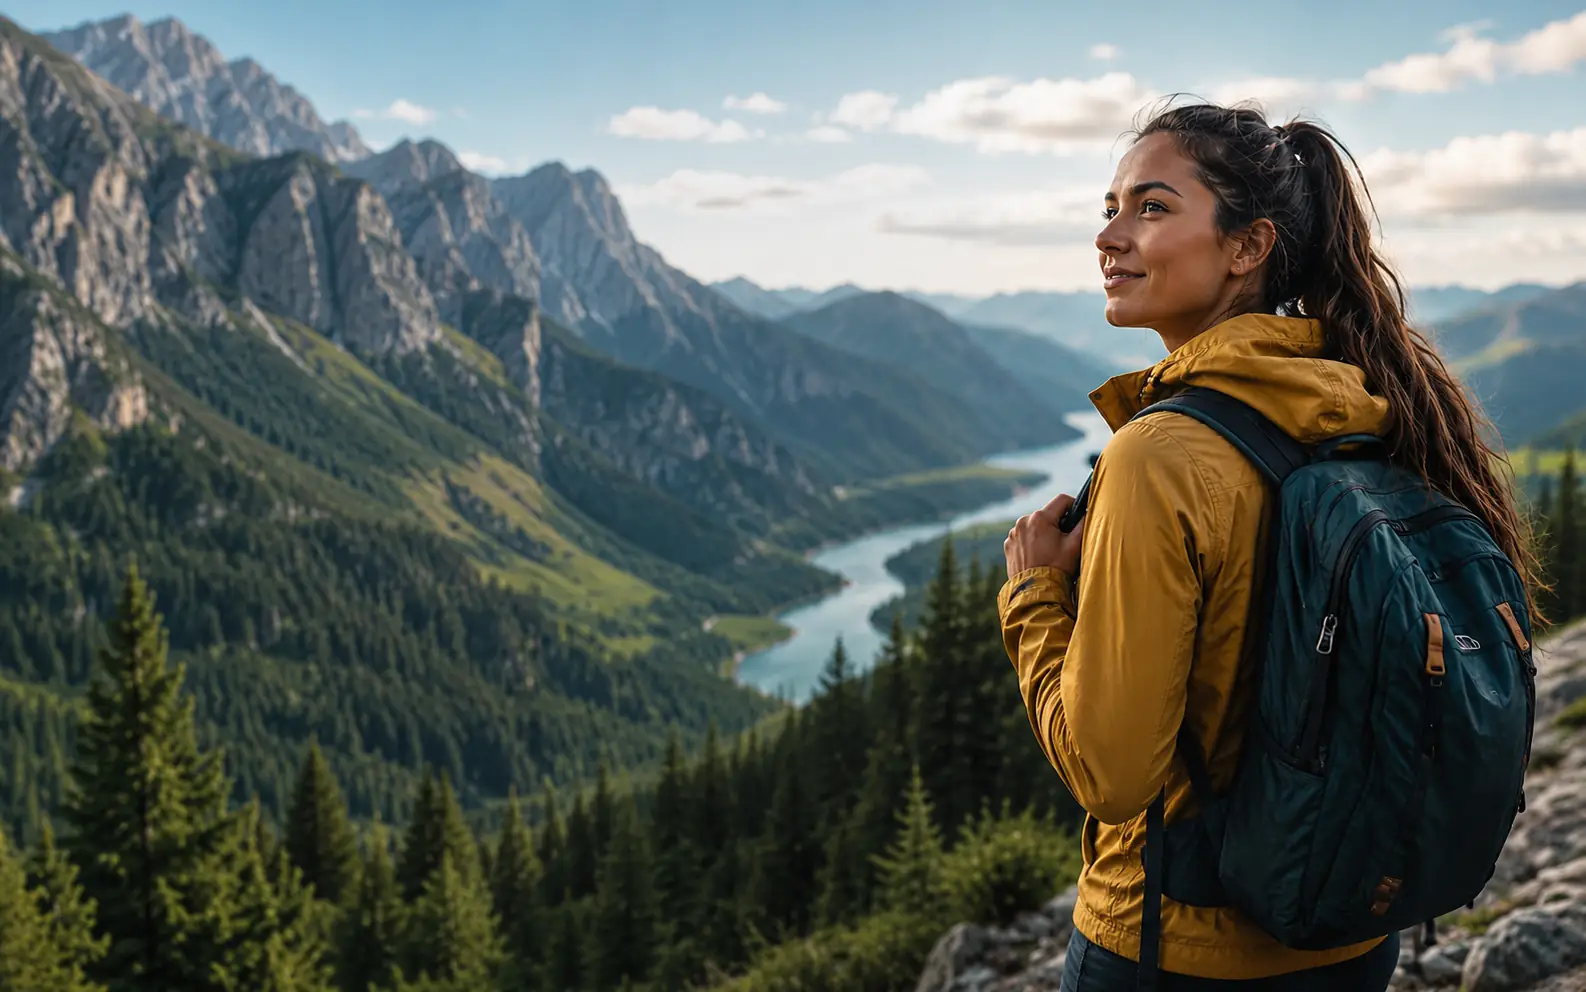
Reuse artwork after campaign copy is gone
Strip headlines, slogans, and callouts from a finished graphic so the image can support a new layout.
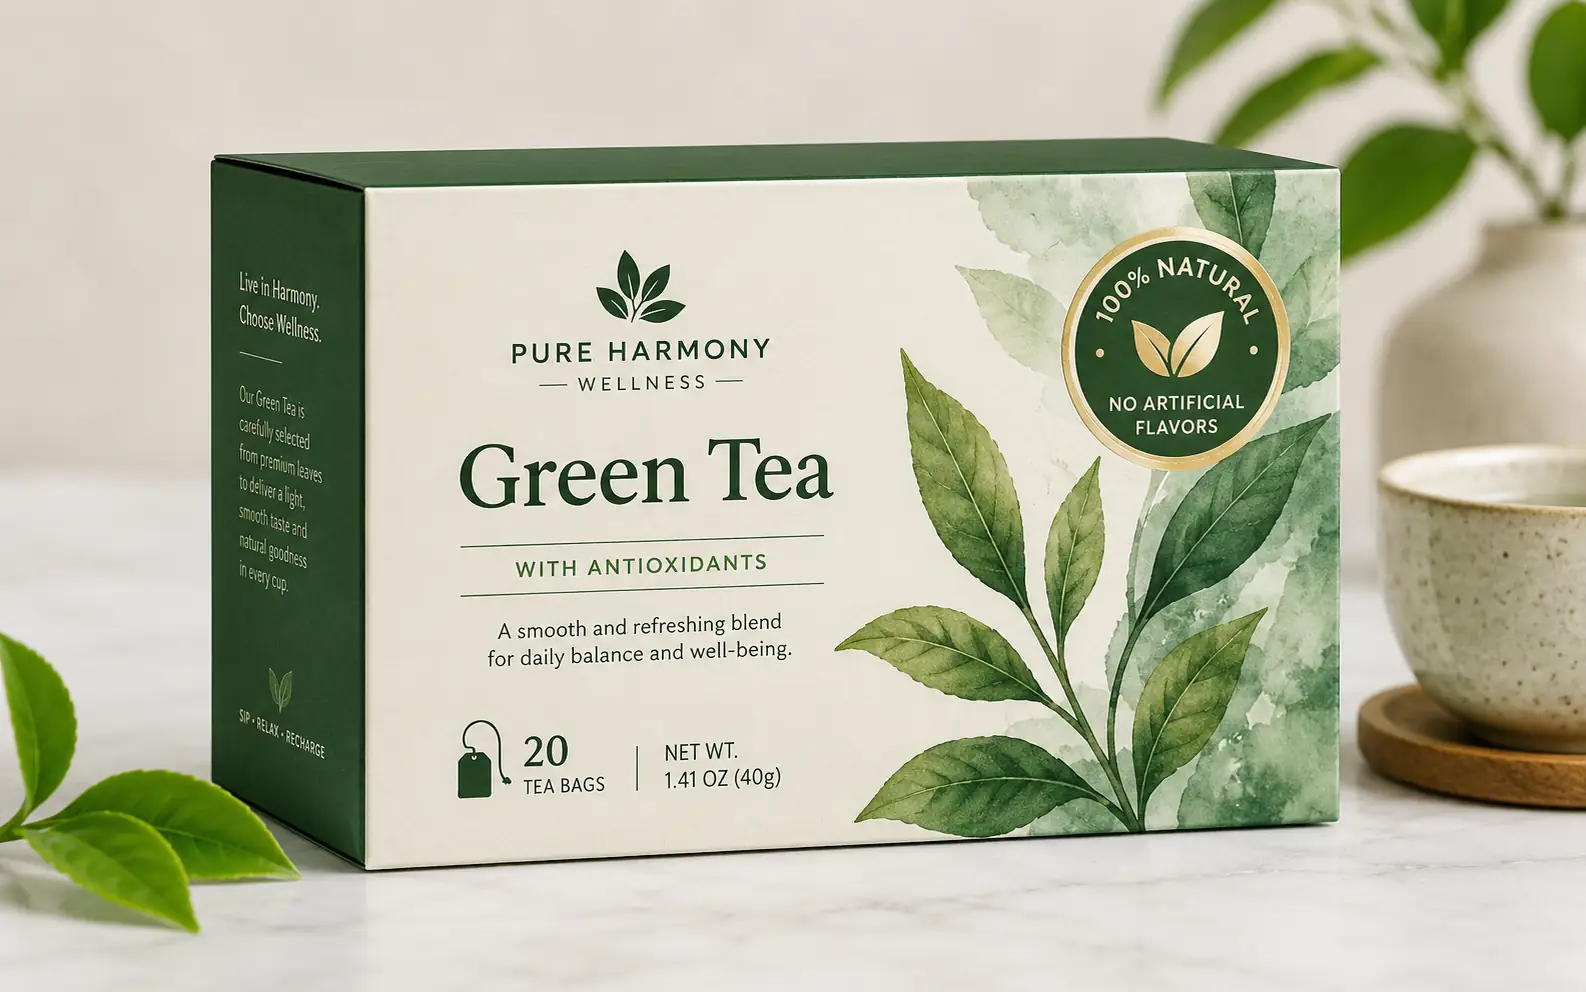
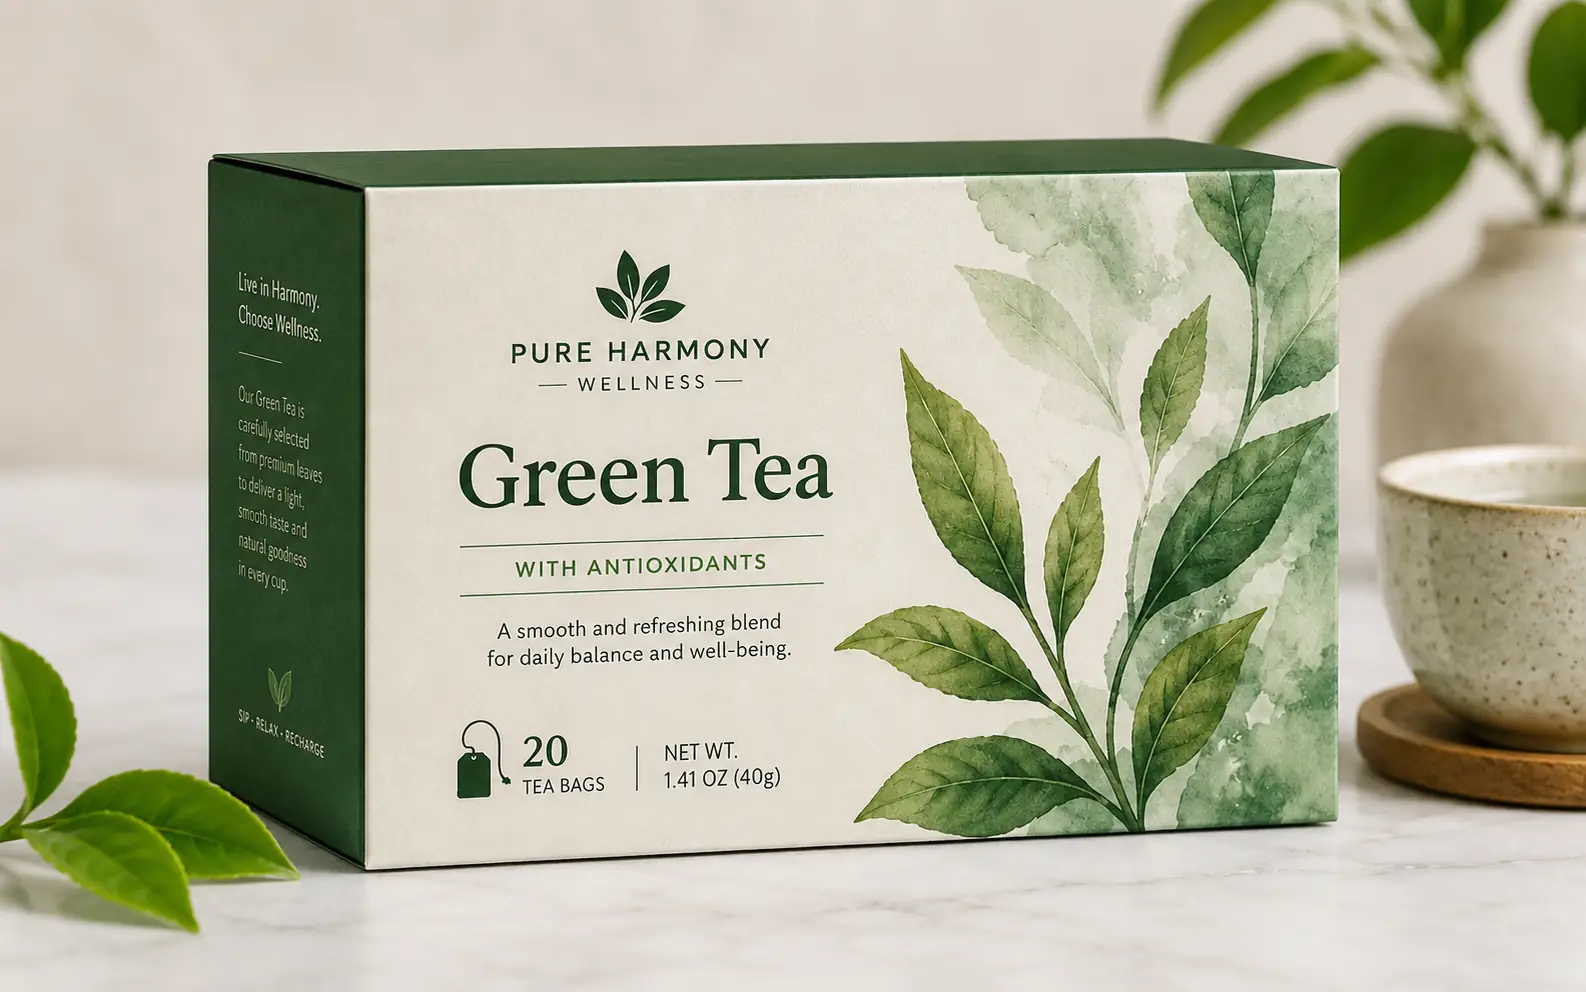
Clear badges from product photos
Remove a sticker, seal, or claim badge when the package and surrounding scene still need to stay.
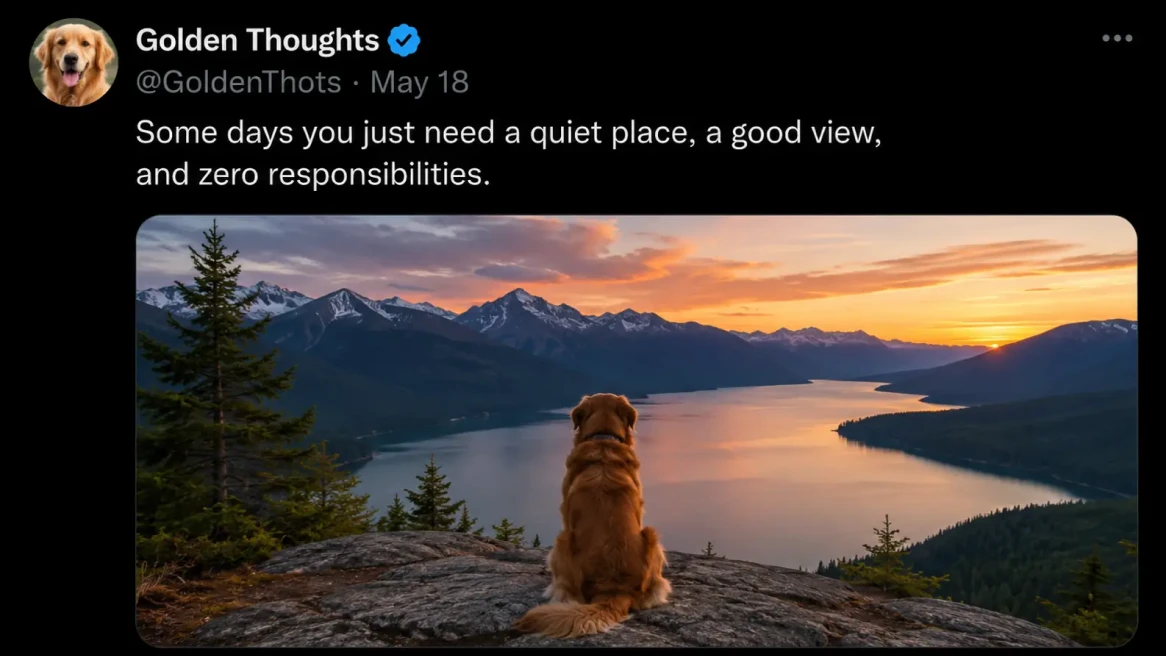
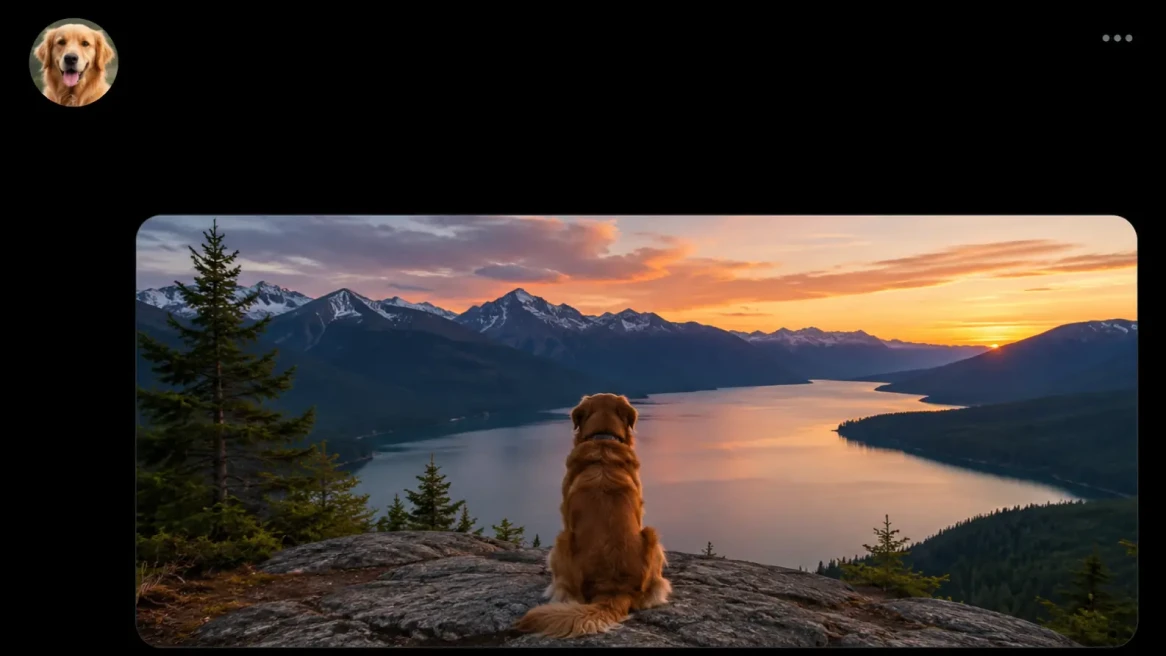
Keep the screenshot, remove the caption
Clean post copy or UI text while preserving the frame, embedded media, and context around it.
Give the prompt enough boundaries
The goal is not a longer prompt. It is a target the tool can separate from nearby text, logos, and details.
Locate the text in plain language
Use cues like center title, bottom caption, top-left date, or round badge on the right.
Say what text should stay
If a product name, UI label, logo, or small caption must remain, mention it in the prompt.
Split crowded edits into passes
If several unrelated text blocks need to go, start with the largest or clearest one.
Inspect lines and gradients
Straight edges, soft gradients, and patterned surfaces reveal text removal mistakes first.
Ready for a cleaner version
Clean the text layer before the image goes back into your layout.
Start with one clear text target. Download when the repaired area looks natural beside the untouched parts of the image.
Remove Text From Image FAQ
Answers about text overlays, screenshots, product labels, and when another cleanup tool fits better.
Should I use Remove Text From Image or Watermark Remover?
Use Remove Text From Image for readable captions, labels, dates, and UI text. Use Watermark Remover for repeated logos, semi-transparent marks, or stamped branding.
Should I use Remove Text From Image or Object Remover?
Use this tool when only the lettering should disappear. Use Object Remover when the whole physical item should go, such as a sign, sticker, paper, or label plate.
What source images work best?
Clear text on a simple background is easiest to repair. Tiny letters, blended shadows, reflections, and dense texture usually need a more careful pass.
Can it remove only part of a label or screenshot?
Yes, as long as the prompt is specific about the text to remove and the text to keep. This is useful for product labels, menus, UI screens, and social posts.
What should I do if the cleaned area looks wrong?
Try a narrower target first. If the text covers an important face, hand, product detail, or complex pattern, a different source image may work better.
More to try
Explore your next creative step
Try another image tool, compare image models, or animate an image concept.

AI image tools
More image tools
Create, edit, clean up, or upscale stills.
AI models
Compare image models
Pick a better model before making more versions.
AI video tools
Make it move
Animate a still or turn it into a clip.

Watermark Remover
Remove marks
Clean visible watermarks or logos.
Object Remover
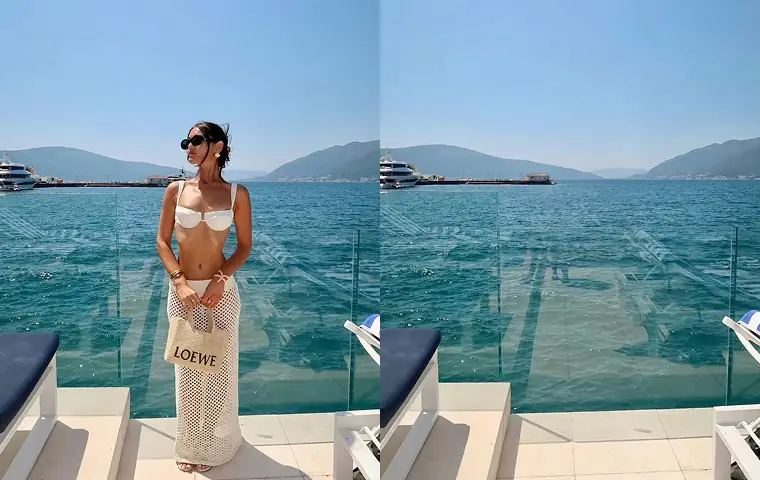
Clean distractions
Remove unwanted objects or people.
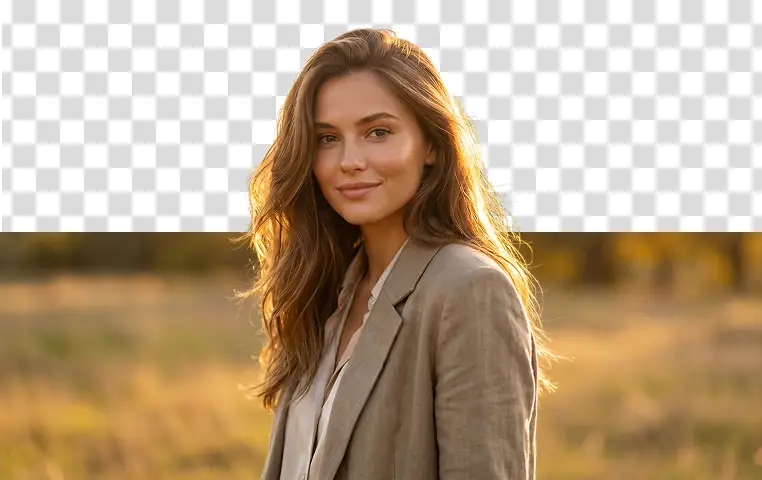
Background Remover
Cut out subjects
Remove the background from an image.
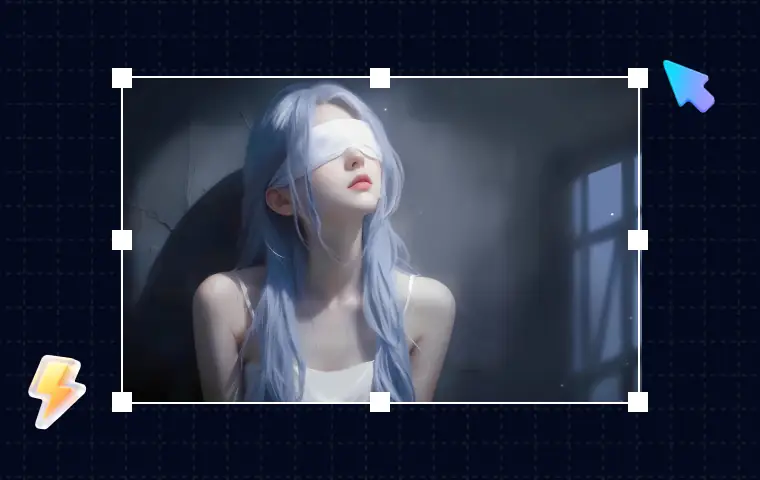
AI Image Editor
Prompt-based edits
Change an image without starting over.

Image Enhancer
Improve quality
Recover detail, color, and clarity.

Image Upscaler
Make it larger
Increase size for export or reuse.
AI image tools
More image tools
Create, edit, clean up, or upscale stills.
AI models
Compare image models
Pick a better model before making more versions.
AI video tools
Make it move
Animate a still or turn it into a clip.
Watermark Remover
Remove marks
Clean visible watermarks or logos.