
Video Enhancer for Better-Looking Footage
Upload an MP4 or MOV and guide the enhancement toward cleaner detail, richer color, better contrast, or less visible noise.
Create
Original Video
Sample videos
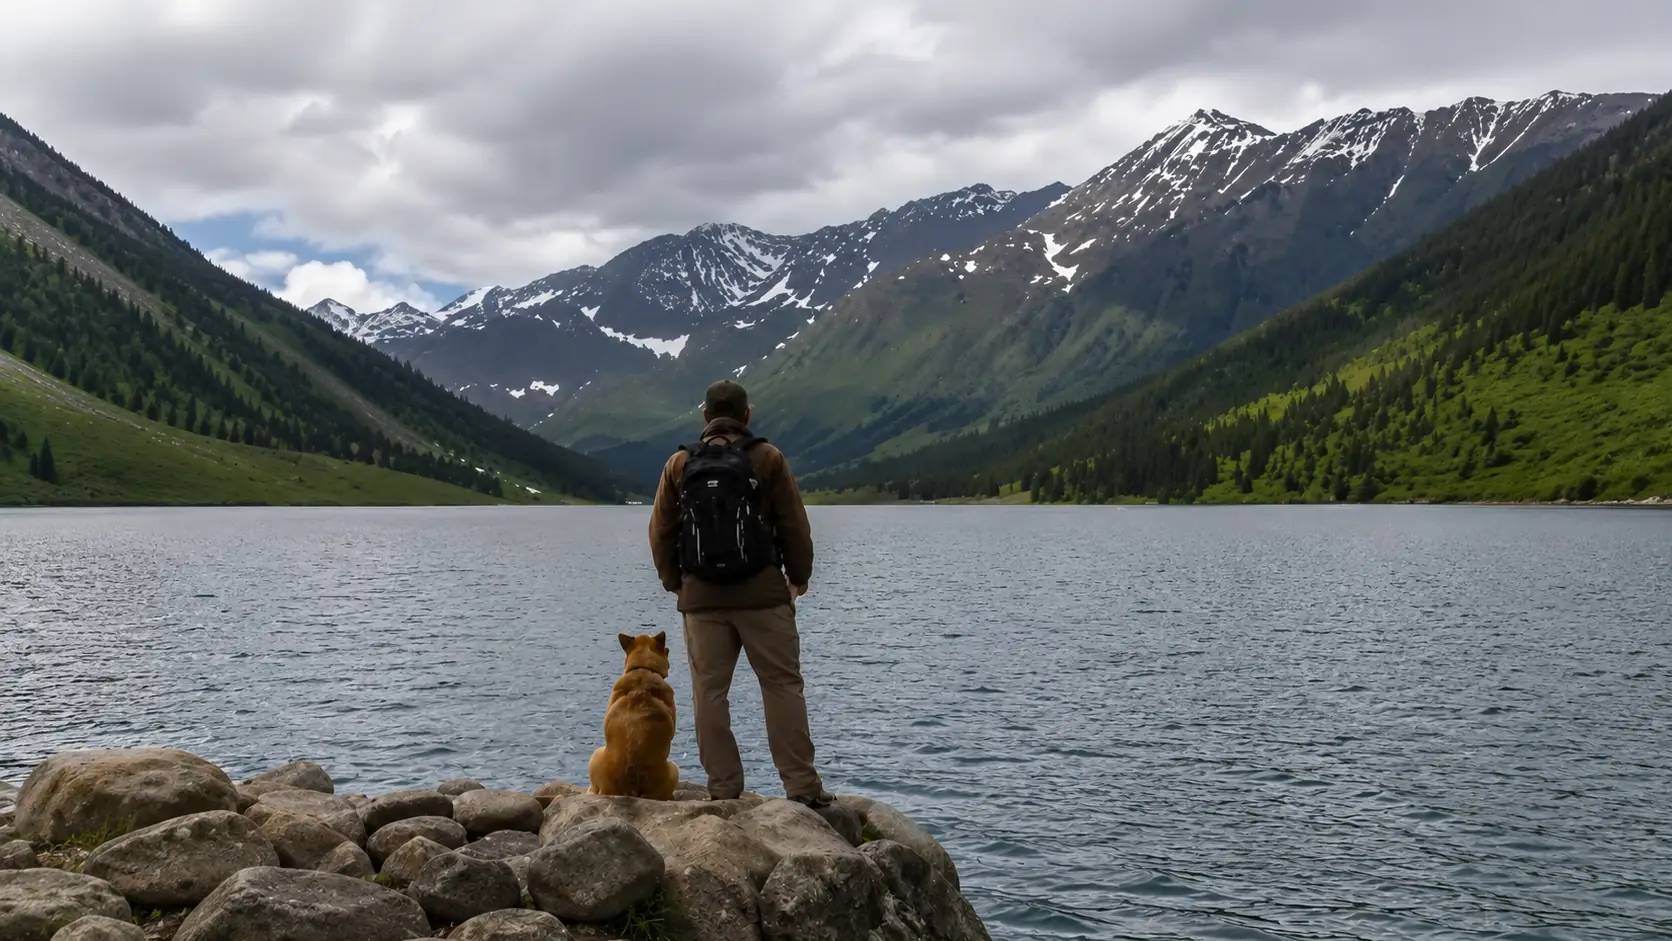
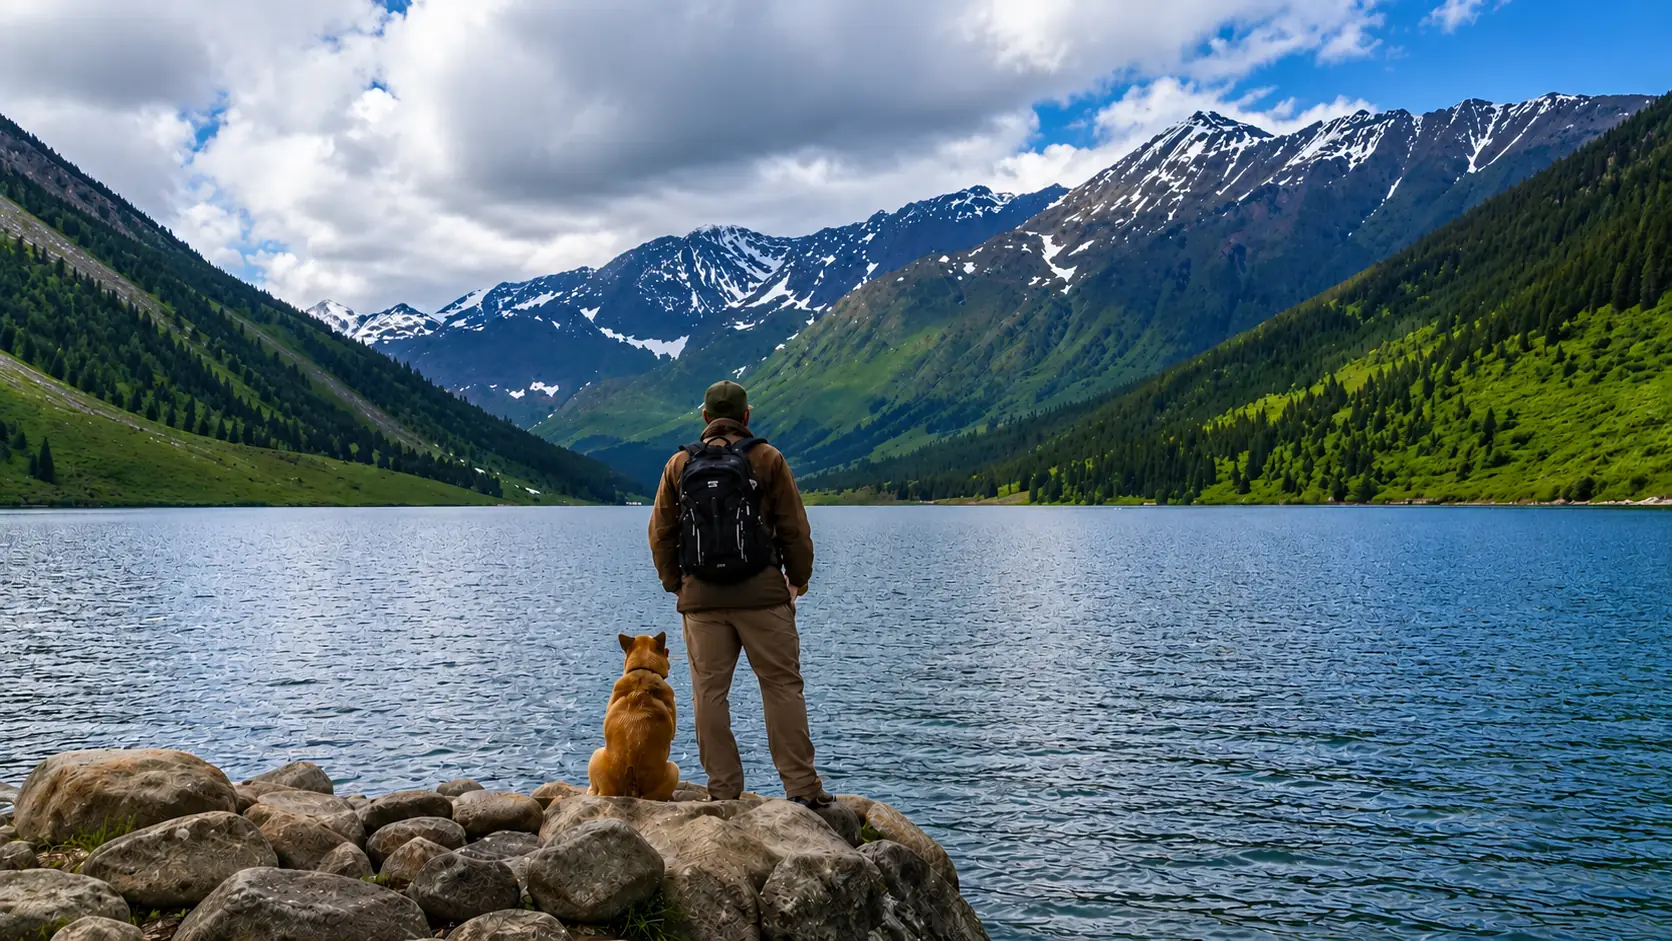
How to enhance a video in Ezier
Treat enhancement as a quality pass on footage you want to keep: upload the clip, write a Prompt, choose 720P or 1080P, set the audio option, then review the result against the source.
- 01
Upload the source clip
Add the MP4 or MOV you want to enhance. The uploader shows a 100MB limit, so short exports, phone clips, screen recordings, and social cuts are the practical fit.
- 02
Write the enhancement Prompt
Describe the quality pass you want: reduce noise, improve color, lift contrast, preserve skin tone, or keep text readable.
- 03
Choose resolution and audio
Select 720P or 1080P, then decide whether to keep the original audio. Choose the resolution by where the enhanced clip will be reviewed or reused.
- 04
Create and review the enhanced clip
Check the credit estimate on Create, run the enhancement, then compare the result with the original. Download it when the main quality problems look improved in motion.
What Video Enhancer can improve
Use Video Enhancer for quality problems that show across the clip: noisy low light, flat color, weak contrast, compression artifacts, and details that need to read more clearly in motion.
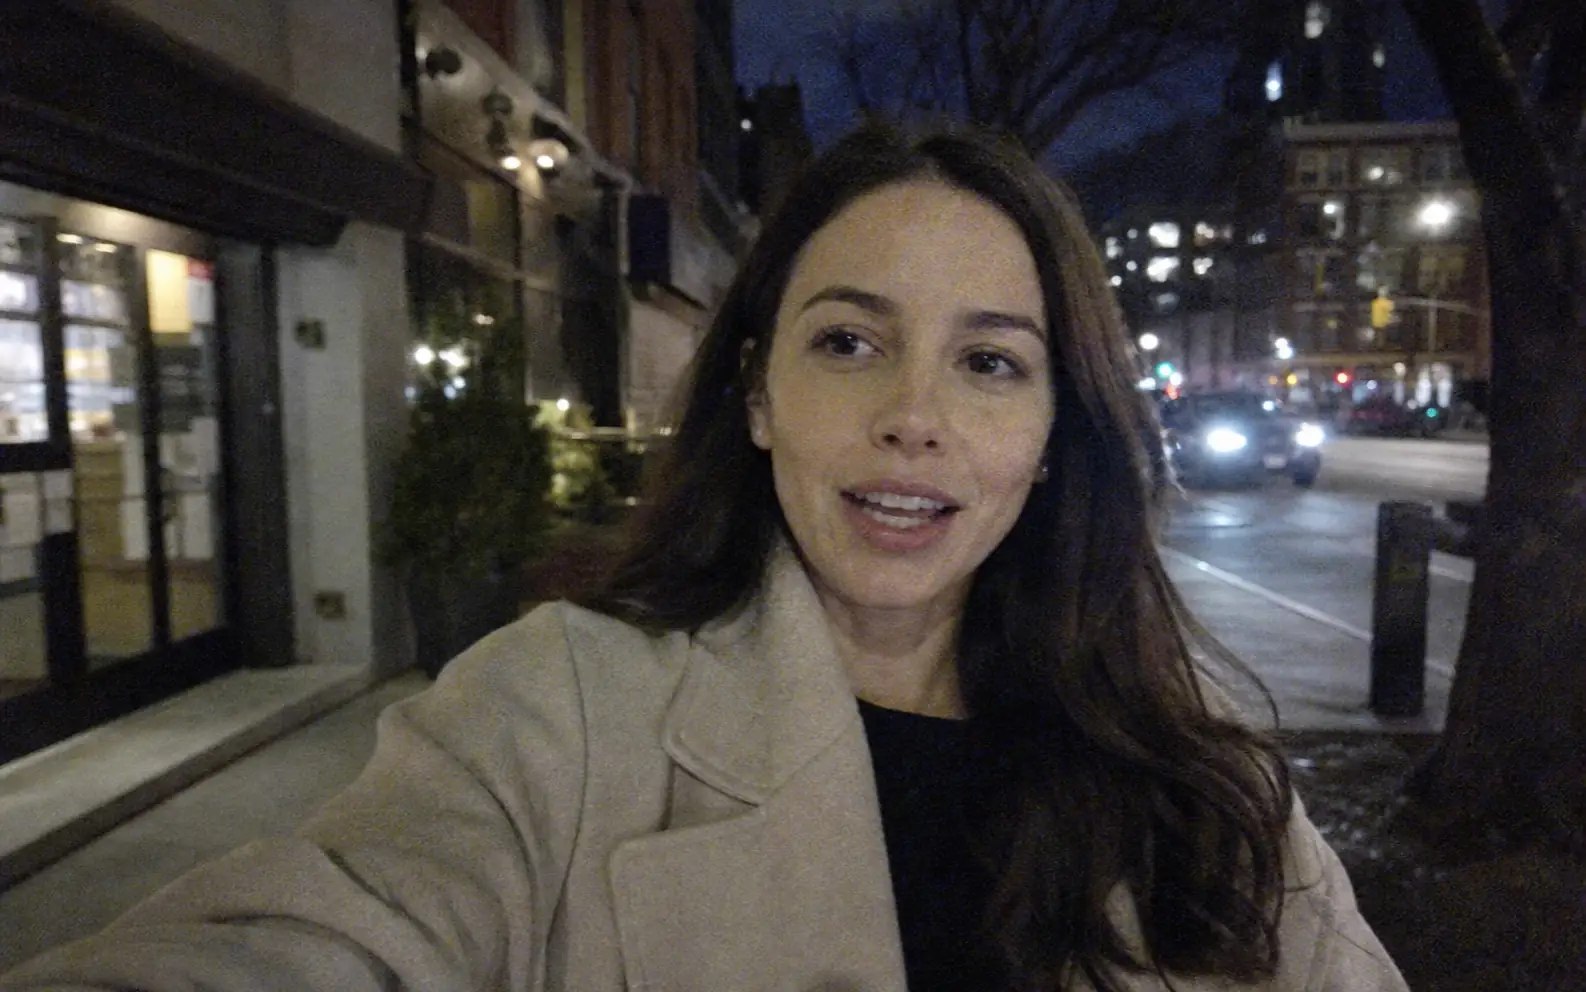
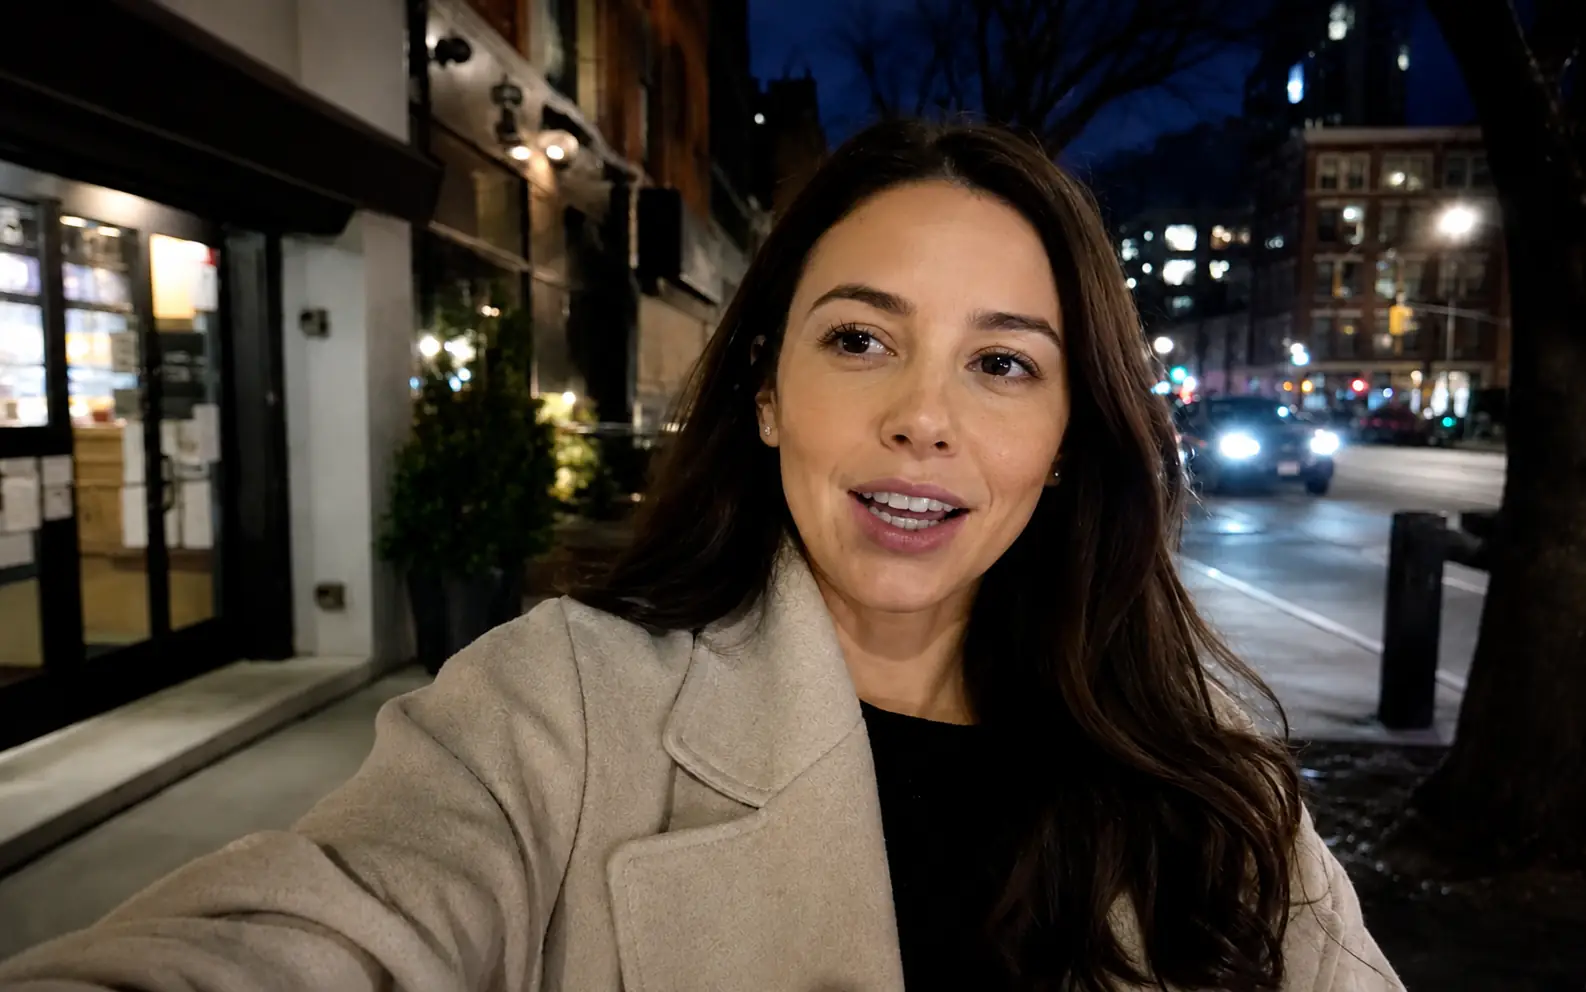
Make low-light clips easier to read
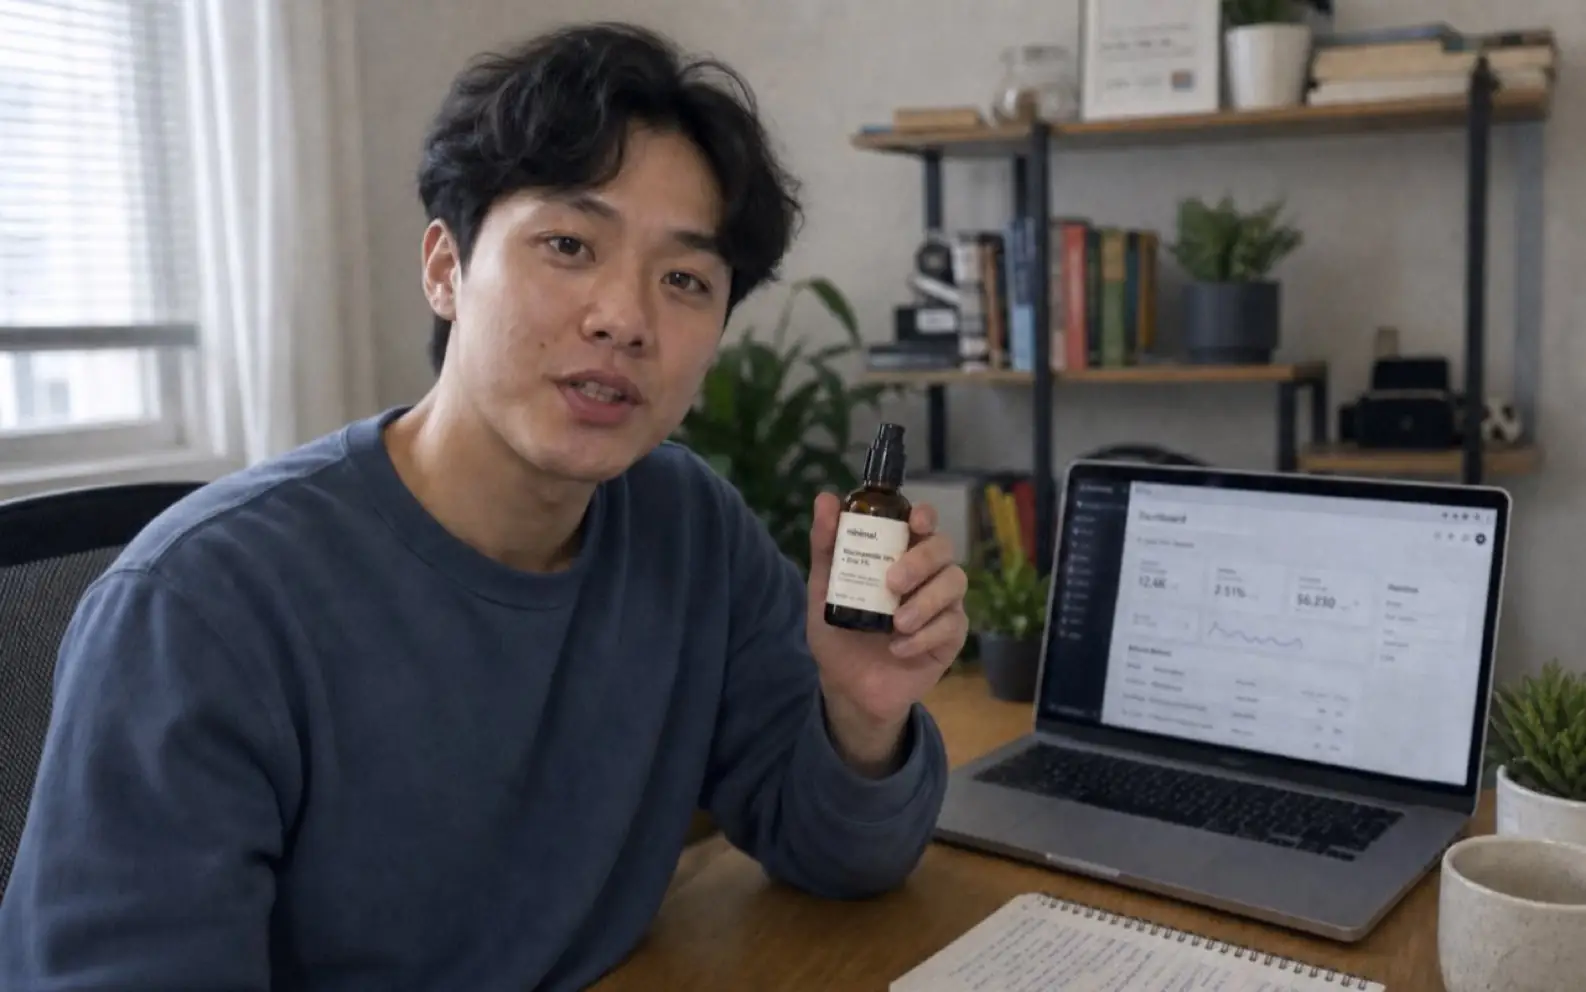
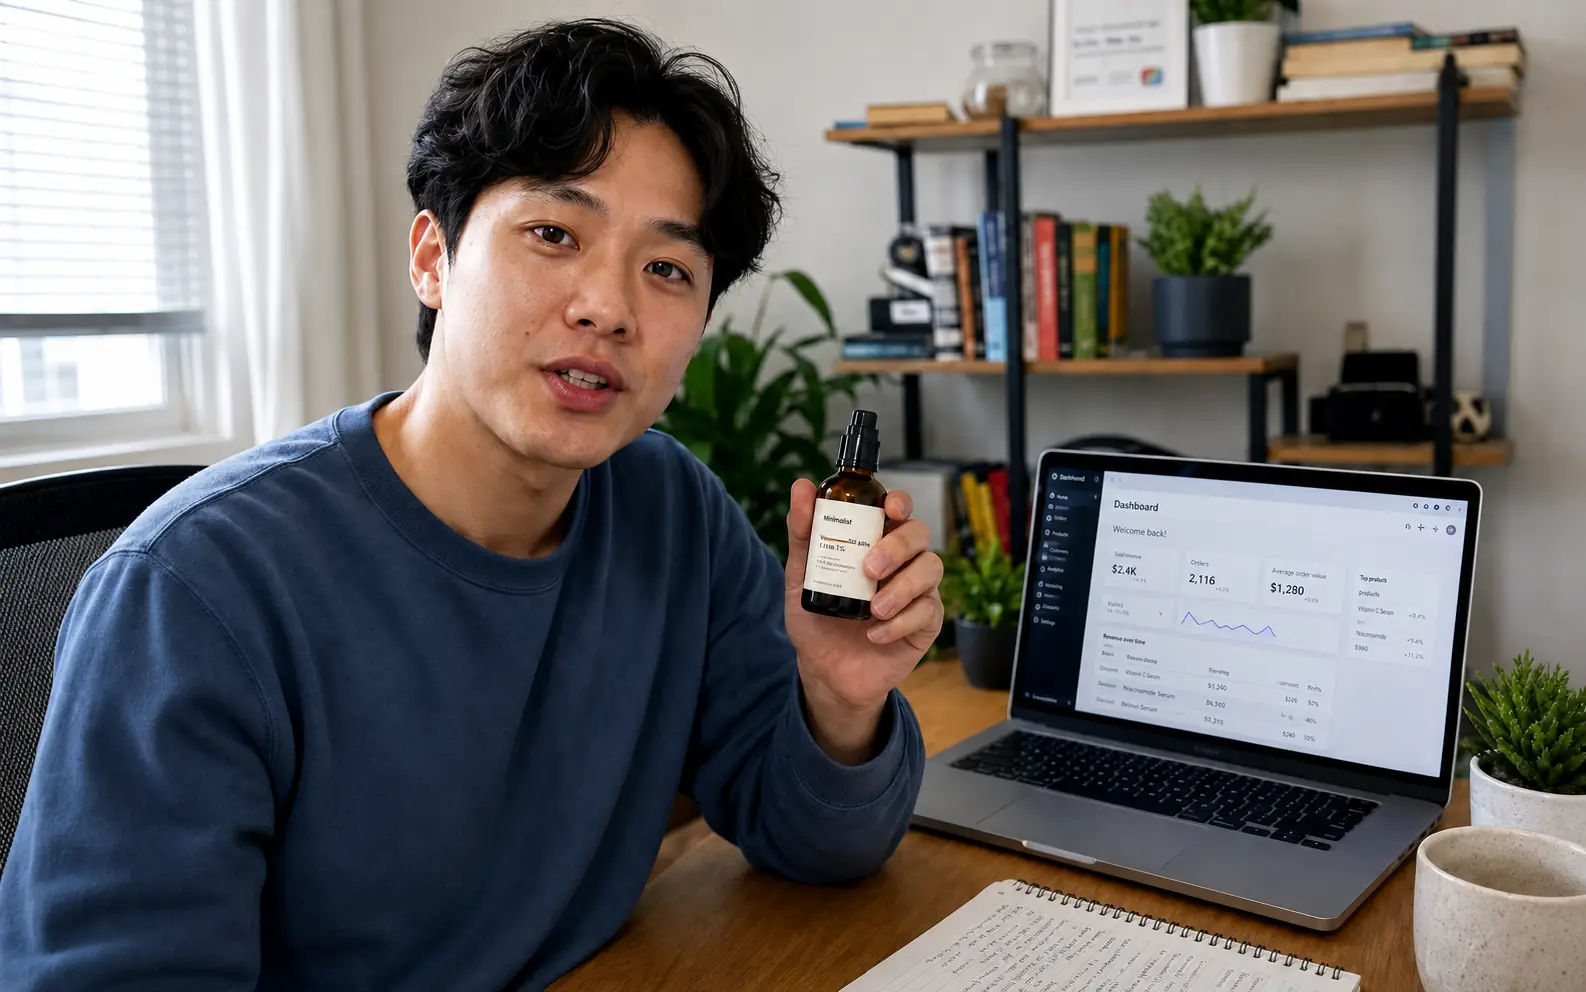
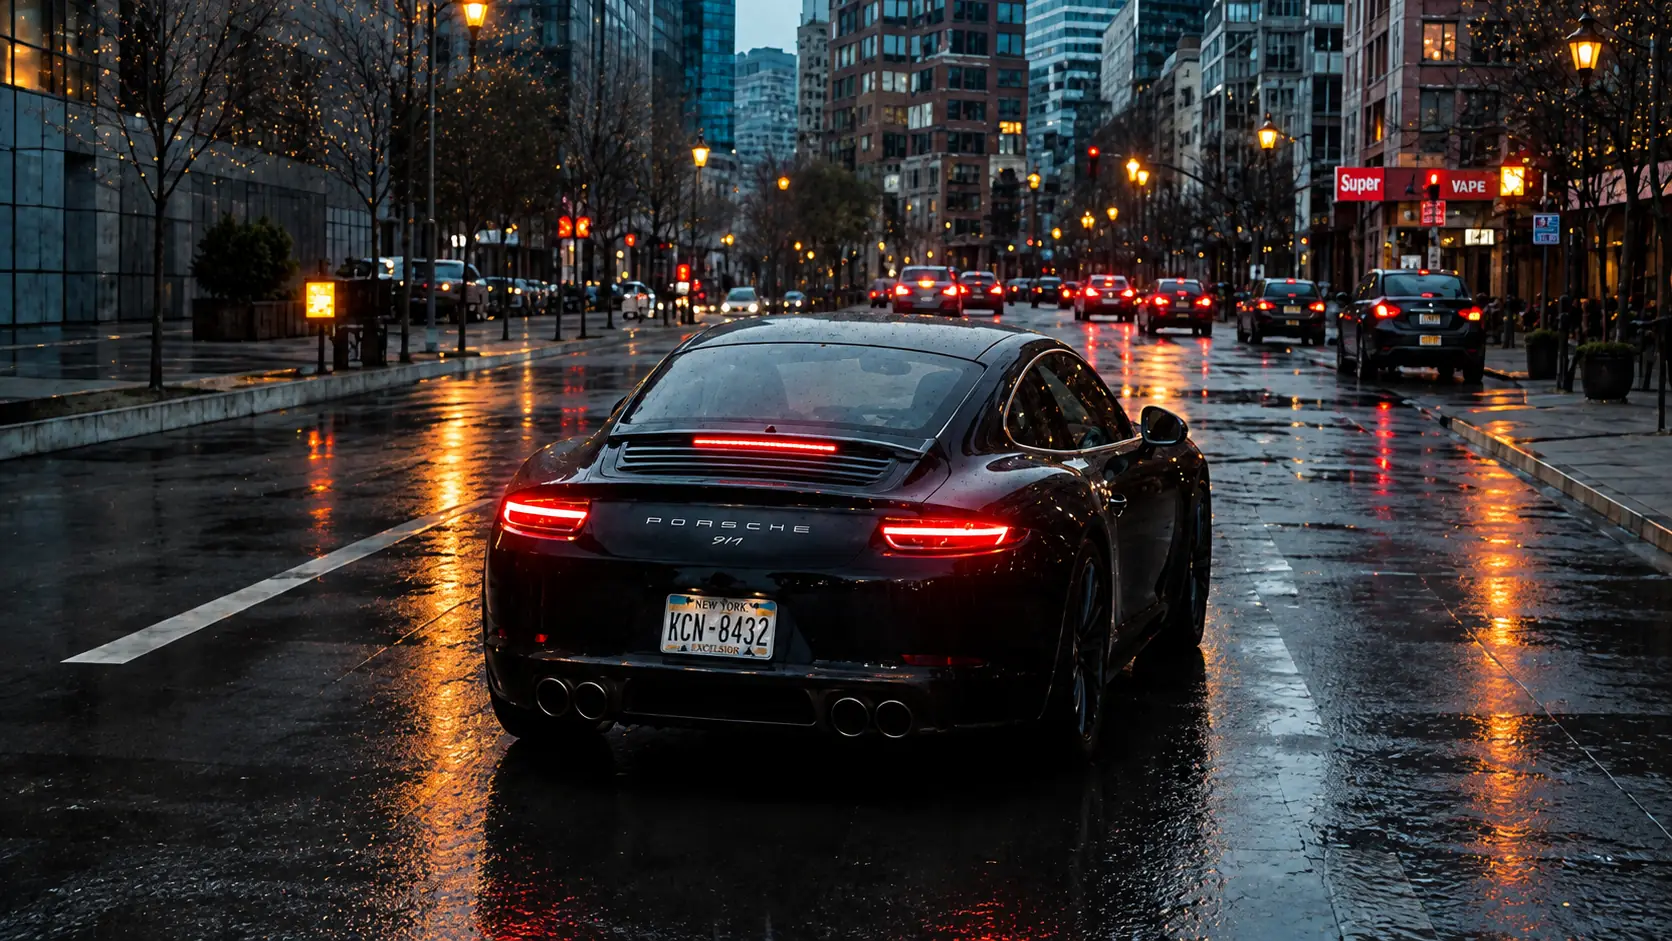
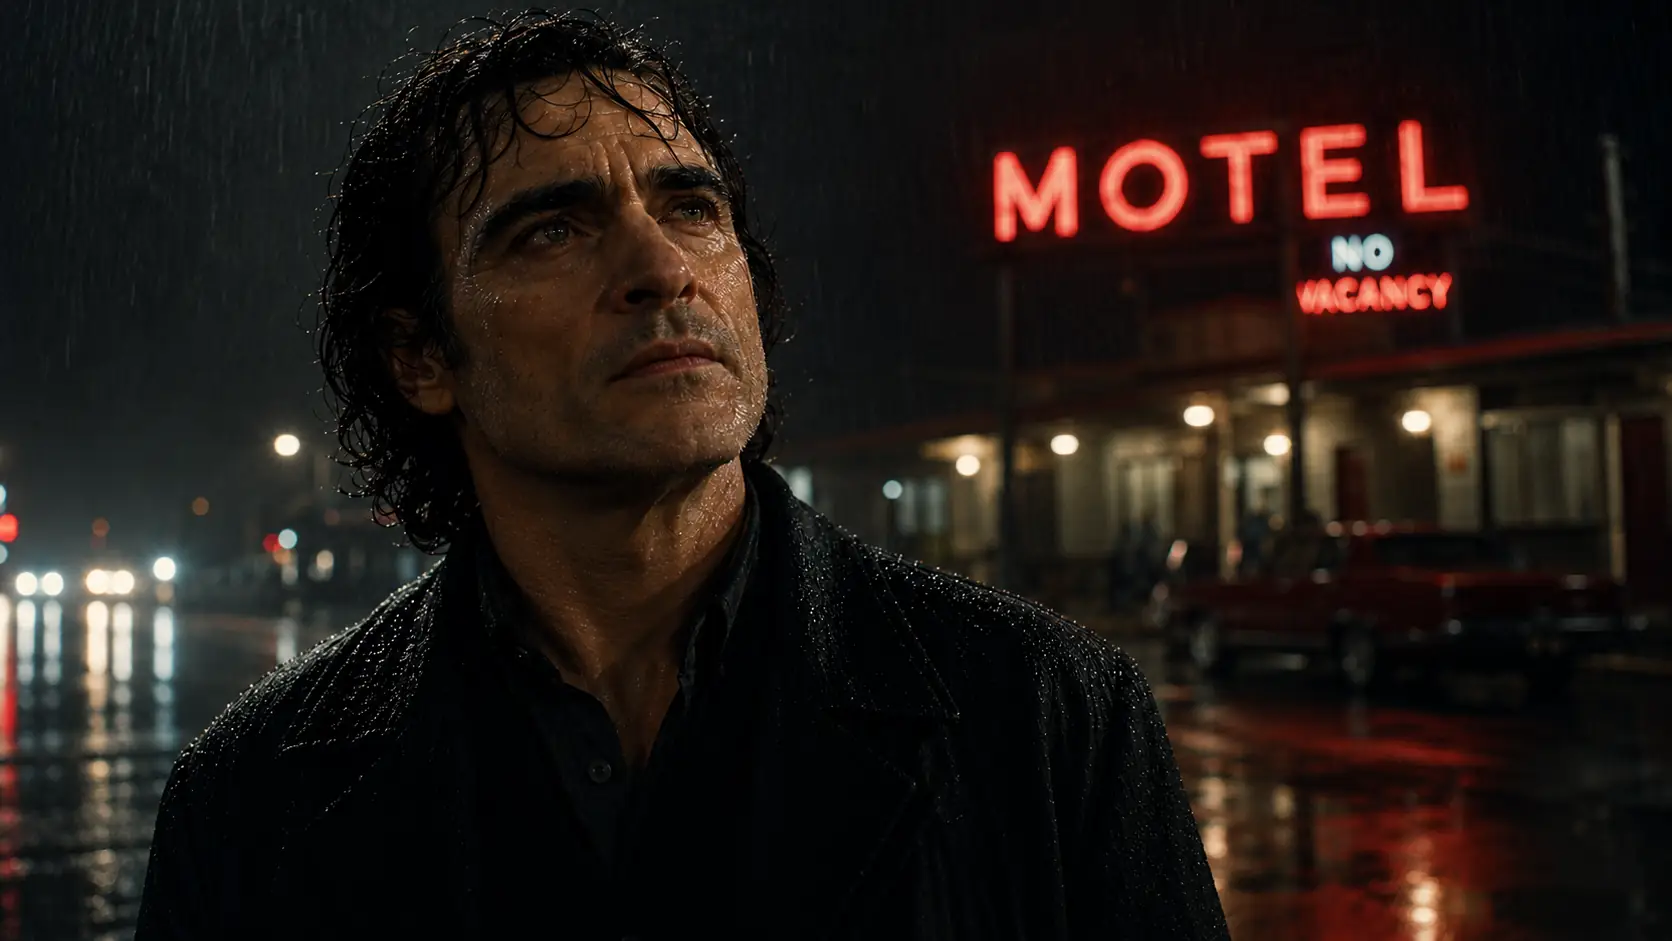
Night footage and handheld phone clips can look grainy, muddy, or uneven. Video Enhancer can reduce visible noise, lift useful shadow detail, and keep the person and setting recognizable.
Bring out the details viewers inspect
Product demos, tutorials, and talking-head clips often depend on small visual cues. Improve faces, labels, UI screens, product texture, and desk details so the clip feels easier to trust and follow.


Lift flat color and contrast
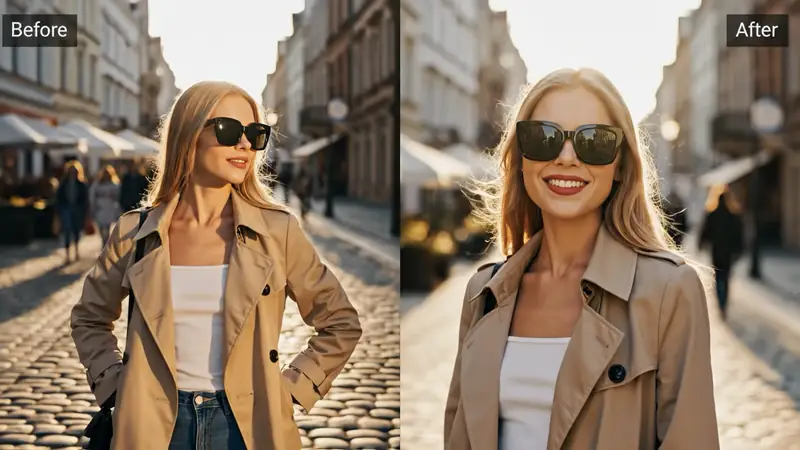
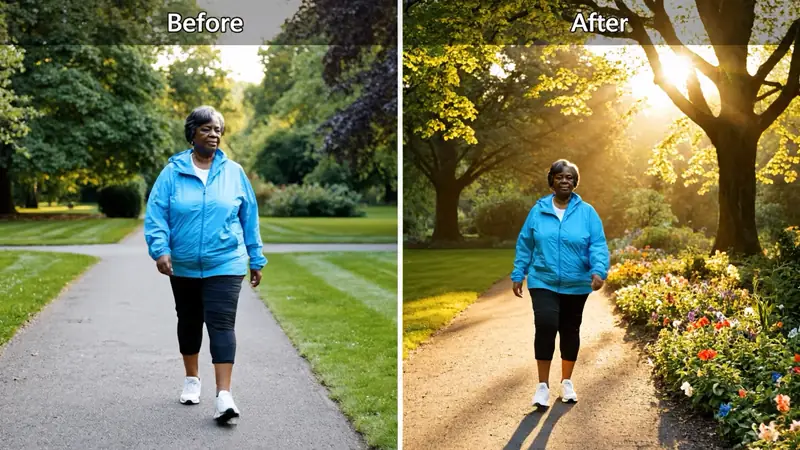
Lifestyle footage, interviews, and casual B-roll can feel dull when exposure or color separation is weak. Enhance the overall image balance so faces, clothing, backgrounds, and ambient light have more usable definition.
Get better Video Enhancer results
A better enhancement pass comes from a clean source, a clear quality direction, and a quick review of what should still look natural in motion.
Start from the best source you have
Use the least-compressed export available when you can. A cleaner source gives the enhancement pass more real texture, color, and shadow detail to work with.
Name the visible quality problem
Use the Prompt to name what you can actually see: noisy shadows, flat color, compression blocks, weak contrast, lost product texture, or low-contrast text.
Say what should stay natural
Call out details that should not be overprocessed, such as skin tone, brand colors, UI text, product labels, fabric texture, reflections, or the original lighting mood.
Review the areas that usually change first
After enhancement, watch faces, text, shadows, highlights, and fast-moving edges. When those areas still look off, revise the Prompt before sending the clip into another edit.
Video Enhancer in Ezier
Improve the clip you already have.
Upload an MP4 or MOV and guide a focused enhancement pass for noise, color, contrast, compression, or detail while keeping the original shot intact.
Video Enhancer FAQ
Answers about source clips, enhancement limits, and when a nearby video tool is the better fit.
What can Video Enhancer improve in a clip?
Video Enhancer can improve visible quality issues such as low-light noise, flat color, weak contrast, compression artifacts, and detail that looks muddy or low contrast. It works on the footage you already have instead of creating a new shot from scratch.
Is Video Enhancer the same as Video Upscaler?
No. Video Enhancer is for improving the look of the existing clip, including noise, color, contrast, compression, and detail clarity. Video Upscaler is mainly for increasing output resolution when the clip already looks reasonably clean.
When should I use Unblur Video instead?
Use Unblur Video when the main problem is motion blur, out-of-focus detail, or blur that makes the subject hard to read. Use Video Enhancer when the broader clip needs a cleaner quality pass across noise, color, contrast, or compression artifacts.
What source videos work best?
Use the cleanest MP4 or MOV you have. The visible upload limit is 100MB, so this page is best for short clips, phone footage, social cuts, screen recordings, tutorials, product demos, and test exports.
Do I need to write a prompt for video enhancement?
Yes. Use the Prompt to name the quality direction and the details to protect. For example: reduce low-light noise, keep skin natural, and preserve readable text.
Can Video Enhancer fix very damaged footage?
It can improve many noisy, flat, compressed, or low-detail clips, but it cannot recover detail that is completely missing from the source. If the result looks unnatural, try a cleaner export or a more specific Prompt.
What should I check before exporting the result?
Compare the enhanced clip against the original and watch faces, product details, text, shadows, highlights, and fast-moving edges. If any area looks overprocessed, adjust the Prompt before downloading.
Next up
Choose what to improve next
Move to a focused video tool, compare models, or prepare stronger source media for the next run.

AI video tools
More video tools
Generate, edit, clean up, or improve clips.
AI models
Compare video models
Pick a better model before rendering again.

AI image tools
Prepare source images
Create a stronger still for the next video run.
Video Upscaler
Make it larger
Upscale clips for bigger screens.
Unblur Video
Fix motion blur
Recover clearer frames in soft footage.
AI Video Editor
Edit with prompts
Revise a clip without a timeline.
Video to Video
Restyle footage
Change the look of an existing clip.
Video Watermark Remover
Remove marks
Clean watermarks or overlays from clips.
Video Subtitle Remover
Remove captions
Clean burned-in subtitles from footage.
AI video tools
More video tools
Generate, edit, clean up, or improve clips.
AI models
Compare video models
Pick a better model before rendering again.
AI image tools
Prepare source images
Create a stronger still for the next video run.
Video Upscaler
Make it larger
Upscale clips for bigger screens.