
Upload Image
Unblur Image for Clearer Photos
Recover detail from motion blur, soft focus, and camera shake. Use it when the subject is still recognizable but looks hard to read.
Samples
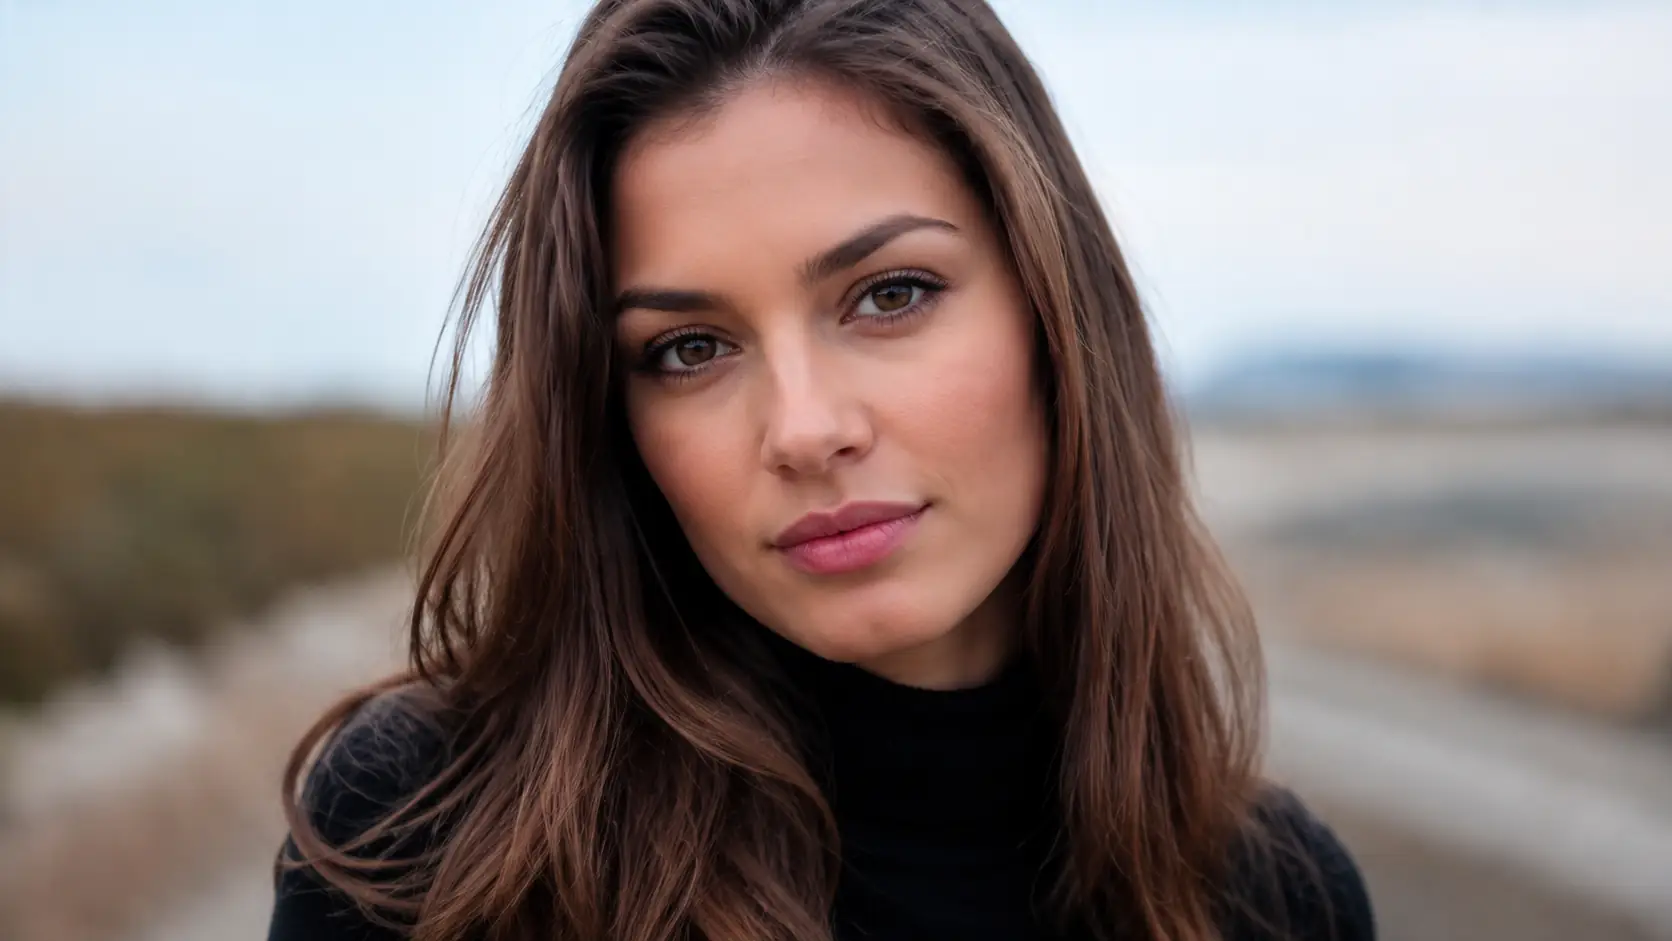
Restore the parts blur hides first
- 01
Upload the blurry image
Start with the clearest source file you have. The best candidates still show the subject, letters, or main edges.
- 02
Run the blur recovery pass
Select Unblur Image to recover sharper edges and visible detail without writing a prompt.
- 03
Inspect the important details
Look at faces, labels, product edges, and fine lines at the size where the image will be used.
- 04
Download the clearer result
When faces, labels, or key edges look clearer at the size you need, download the restored image. If the result still looks too blurry, try again with a cleaner source file.
Blur recovery for real image problems
Use Unblur Image on photos where the subject, product, or text is still visible, but camera shake, motion, or missed focus makes the image hard to use.
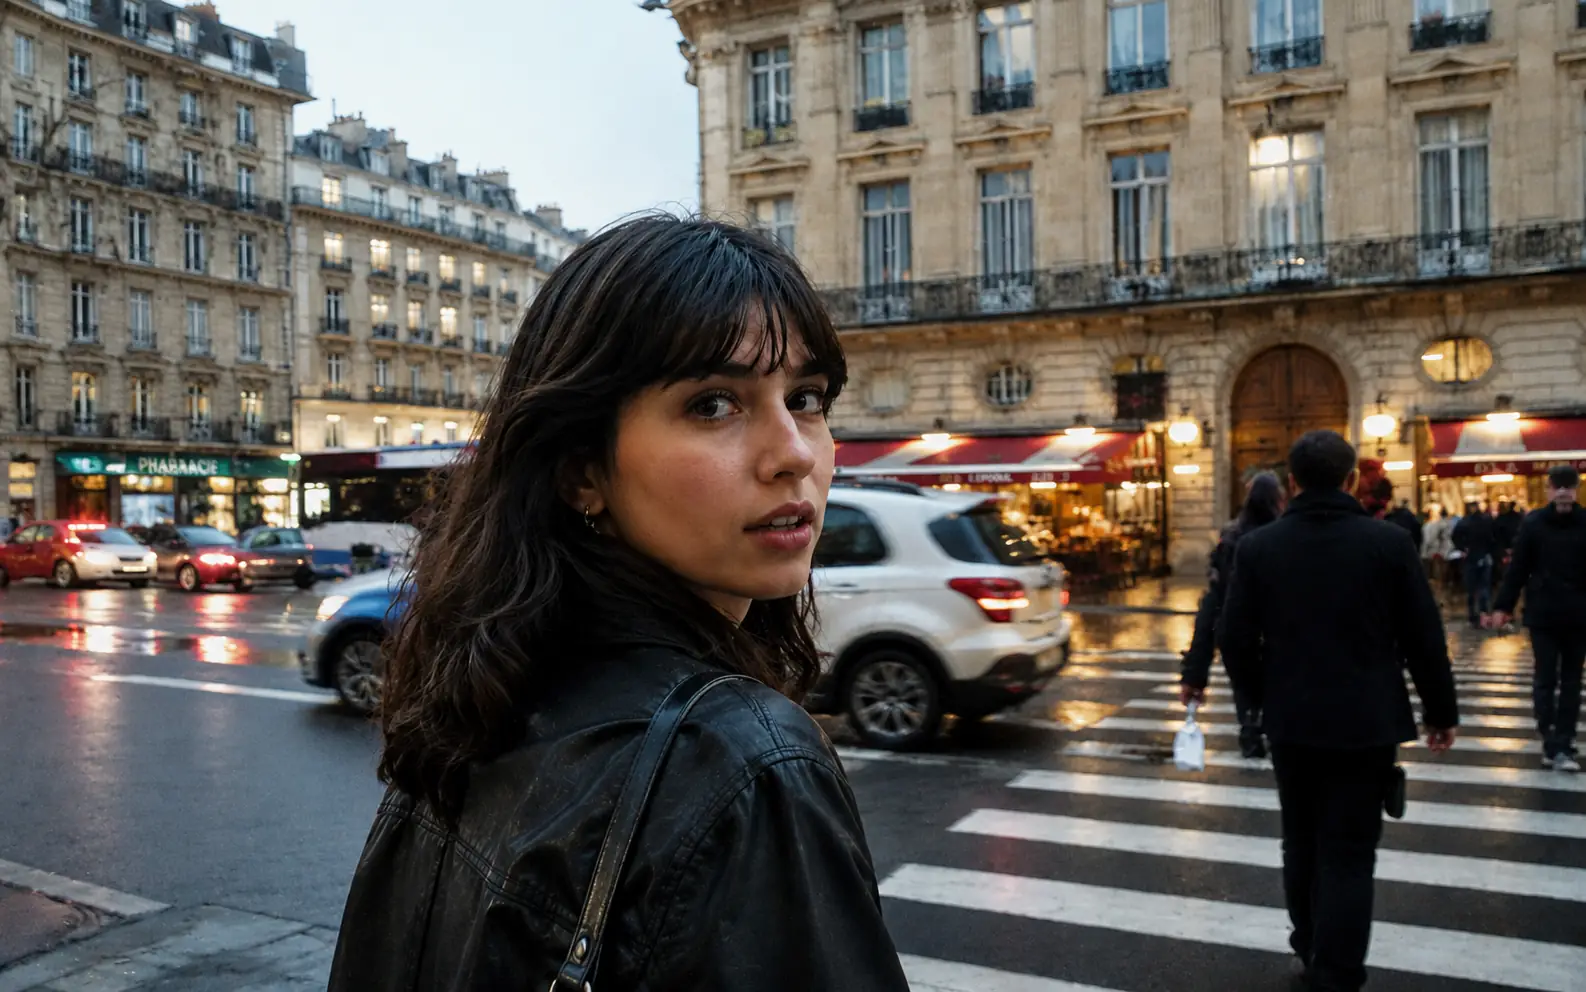
Handheld portraits with soft edges
Recover facial features, hair, and clothing edges when a handheld street photo turns soft from camera shake or a small focus miss.
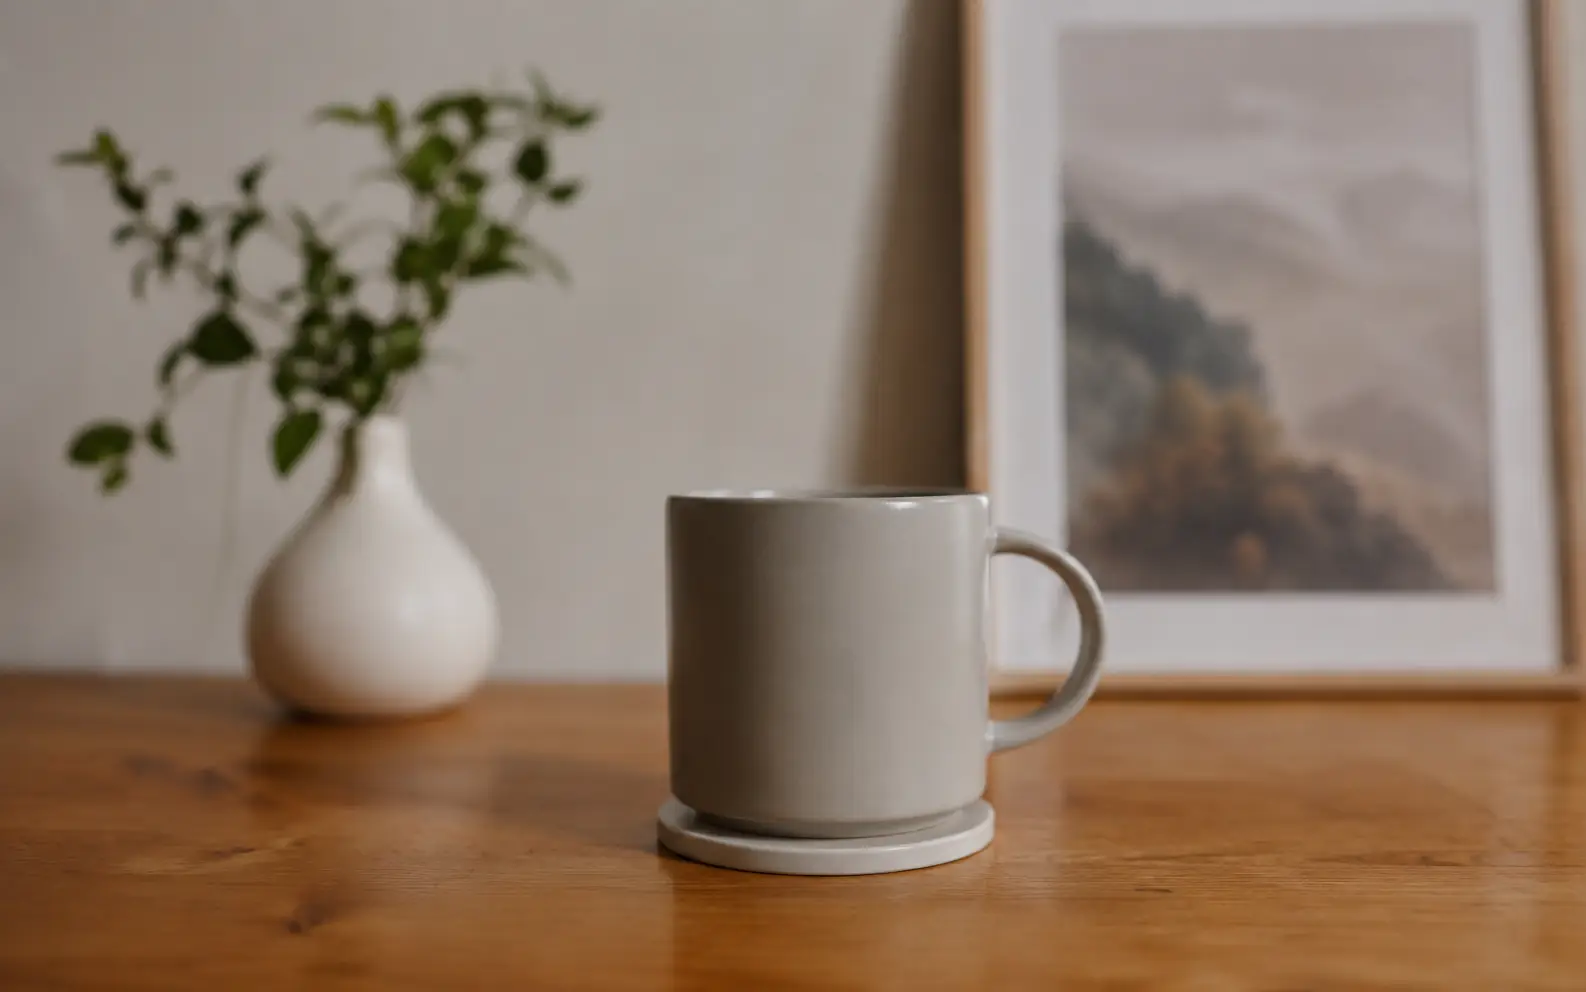
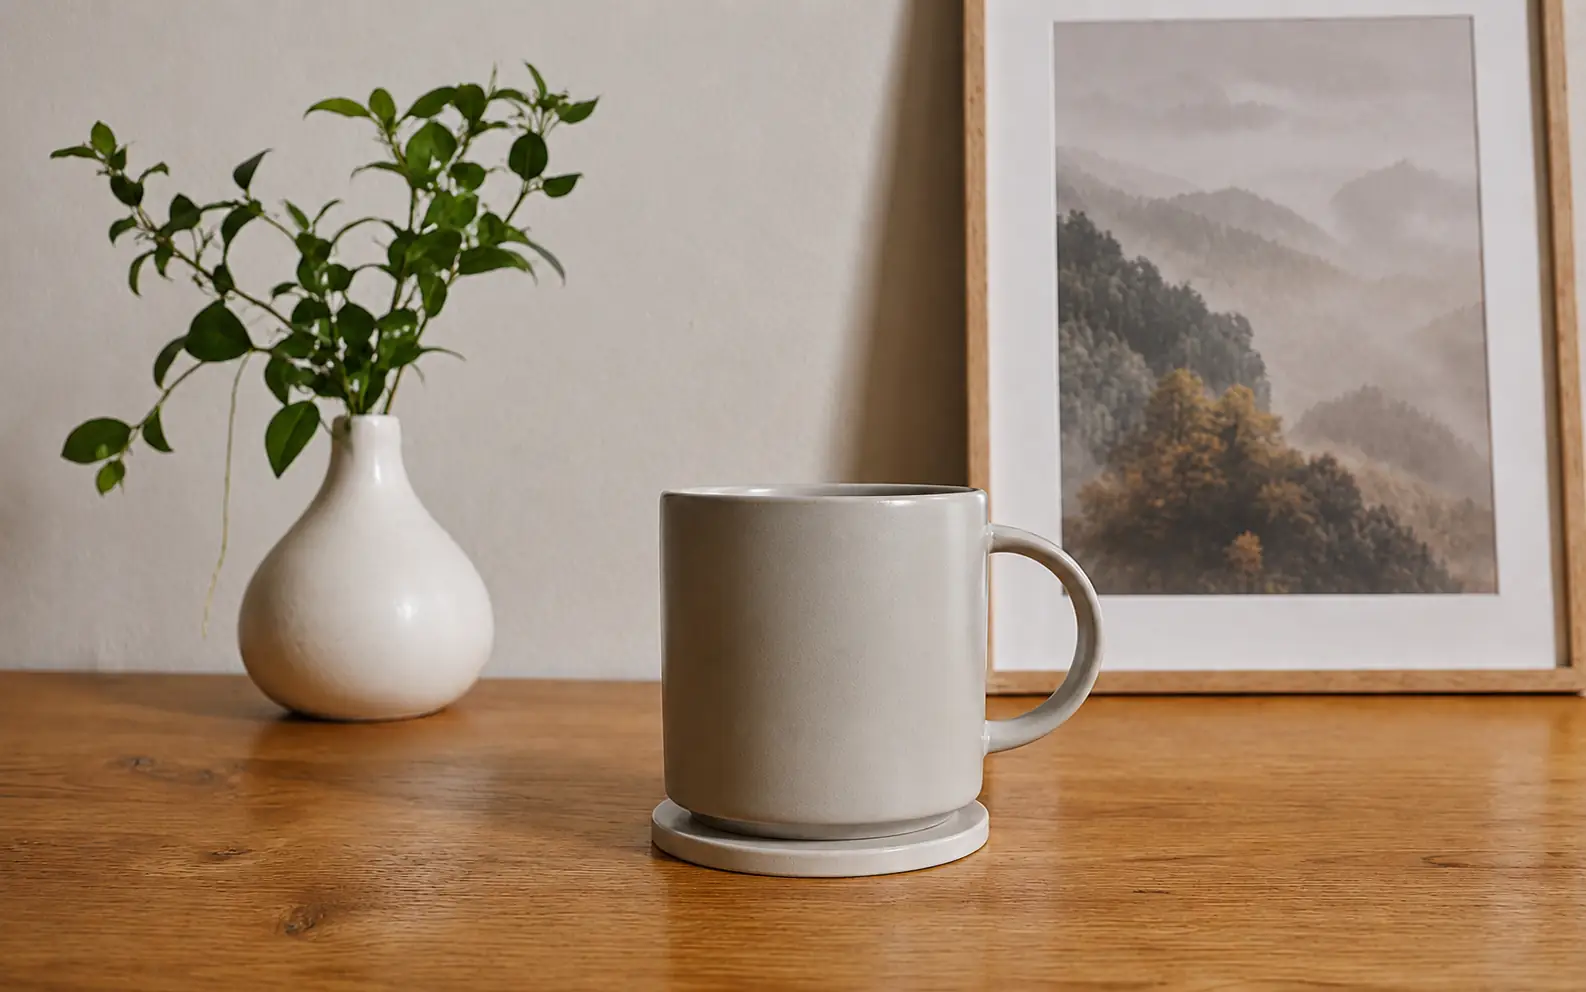
Product shots that fell slightly out of focus
Bring the rim, handle, and surface texture of a product photo back into clearer focus without changing the scene.
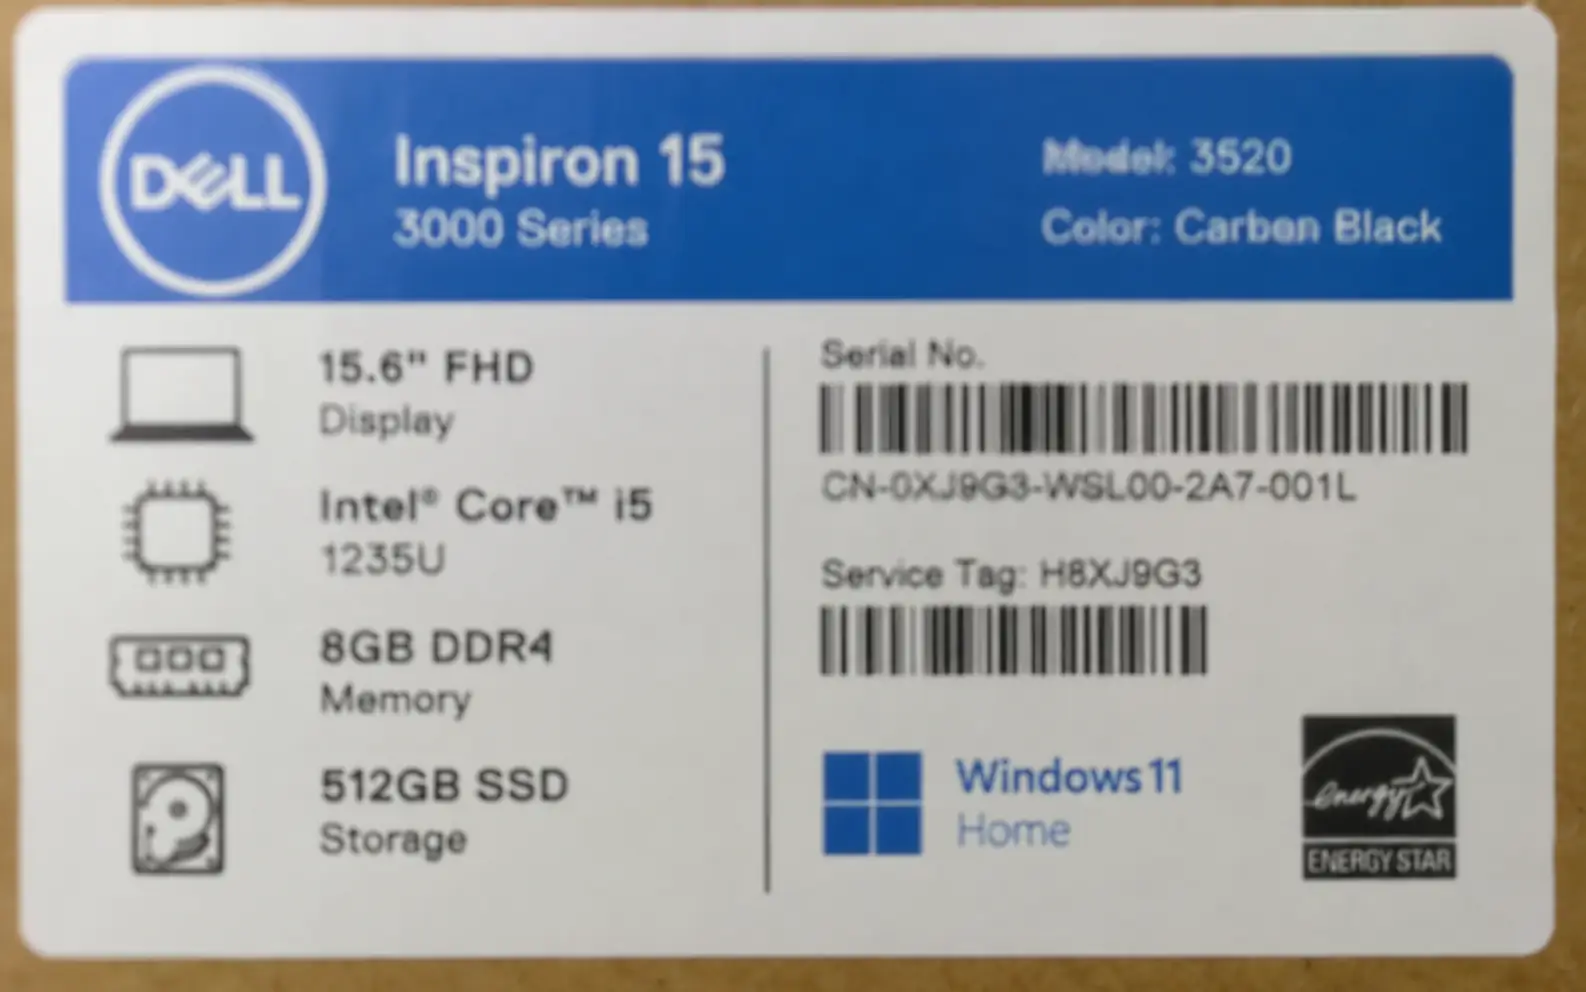
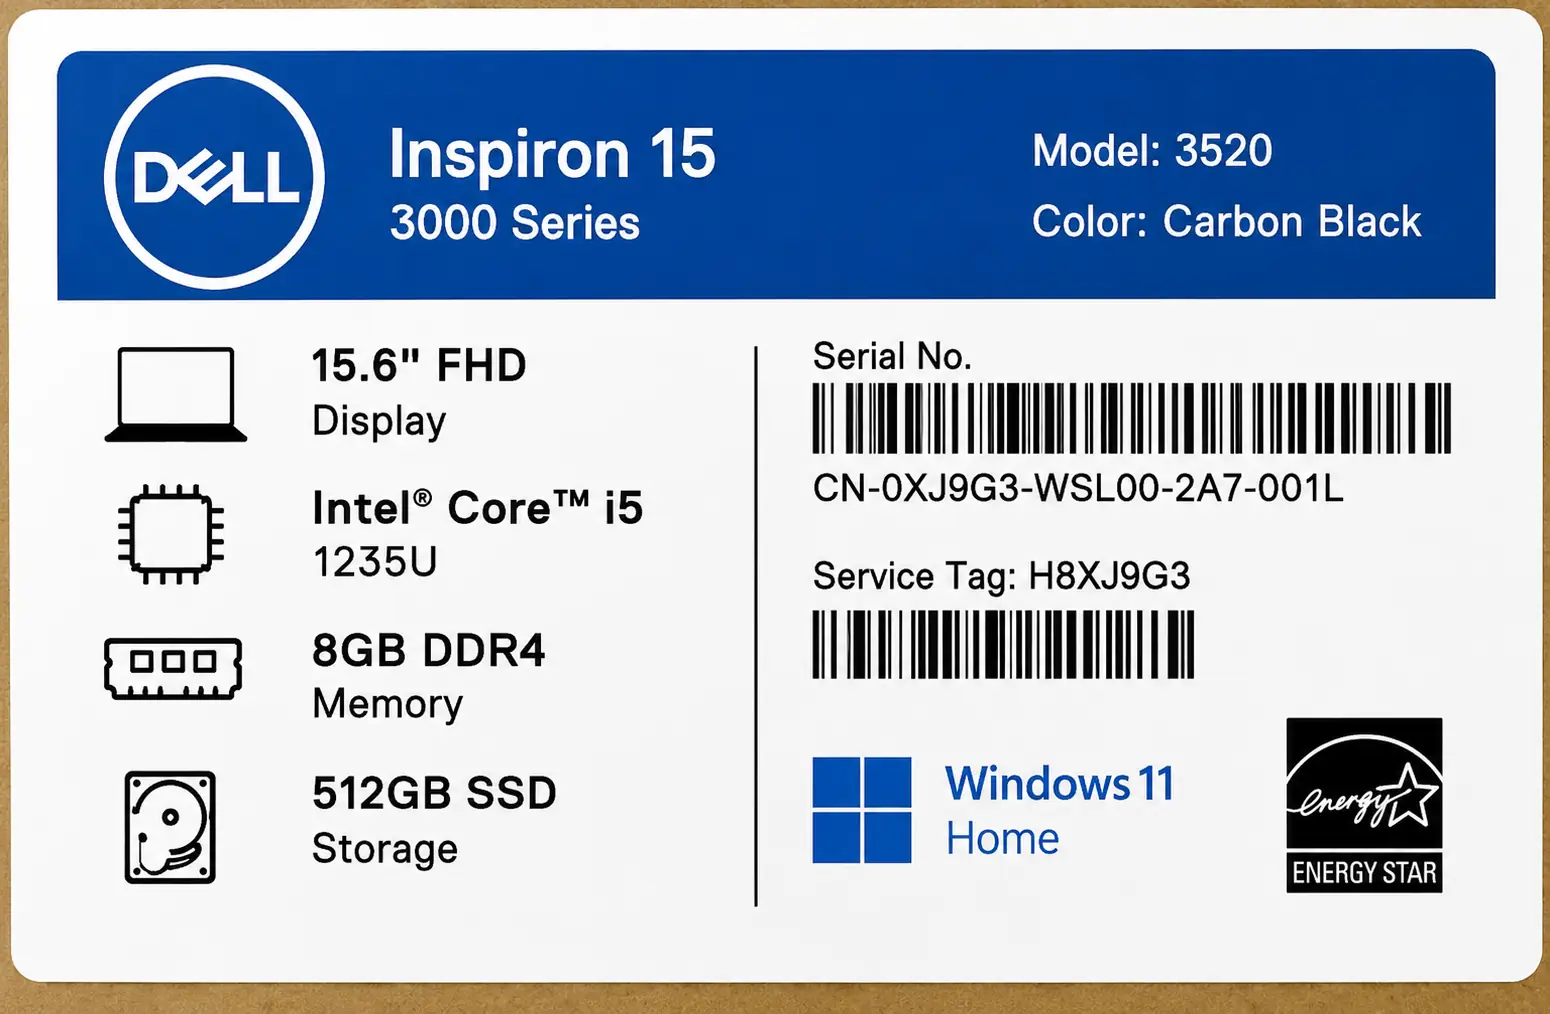
Labels with text still visible
Make model numbers, spec lines, and barcode areas easier to read when the label is blurred but the characters are still partly visible.
Judge blur recovery by the final use
The preview is only a first check. Review faces, labels, and edges at the size where the image will be used, then choose the cleaner version.
Start only when structure remains
Unblur works best when you can still recognize the subject, letters, or major edges. A fully smeared image may only improve a little.
Clean heavy noise first
If the image is dark, grainy, or compressed as well as blurry, use Image Enhancer before blur recovery.
Check the areas that matter
Zoom into faces, product edges, label text, and fine lines. Those areas show whether the recovery helped or added artifacts.
Upscale after detail is clearer
If you need a larger final file, use Image Upscaler after the blur has been reduced.
Blur recovery pass
Recover the details blur is hiding.
Use Unblur Image when motion, camera shake, or missed focus made an otherwise useful image hard to read. If the file is also dark or noisy, clean it first with Image Enhancer . If you need more pixels after the detail is clearer, follow with Image Upscaler.
Unblur Image FAQ
Answers for recovering a usable image without pushing the file too far.
Can Unblur Image fix every blurry image?
No. It works best when the image still has recognizable shapes, edges, or letters. Severe blur may only improve partly.
When should I use Unblur Image instead of Image Sharpener?
Use Unblur Image when camera shake, motion, or missed focus caused the problem. Use Image Sharpener when the image is already readable and only needs crisper edges.
Should I enhance the image before unblurring it?
Enhance first when the file is also dark, noisy, washed out, or heavily compressed. If blur is the only issue, start with Unblur Image.
Can Unblur Image help with text or labels?
Yes, when the letters or barcode edges are still partly visible. It can make labels easier to read, but it cannot reliably recover text that has no visible structure left.
What should I check before using the result?
Review faces, label text, edges, and fine lines at the final display size. If the result shows halos, strange texture, or flattened detail, use the cleaner-looking version.
Next up
Choose your next image step
Try a nearby image workflow, compare models, or turn your result into video.
AI image tools
More image tools
Create, edit, clean up, or upscale stills.
AI models
Compare image models
Pick a better model before making more versions.
AI video tools
Make it move
Animate a still or turn it into a clip.
Image Sharpener
Sharpen detail
Make soft edges and small details clearer.
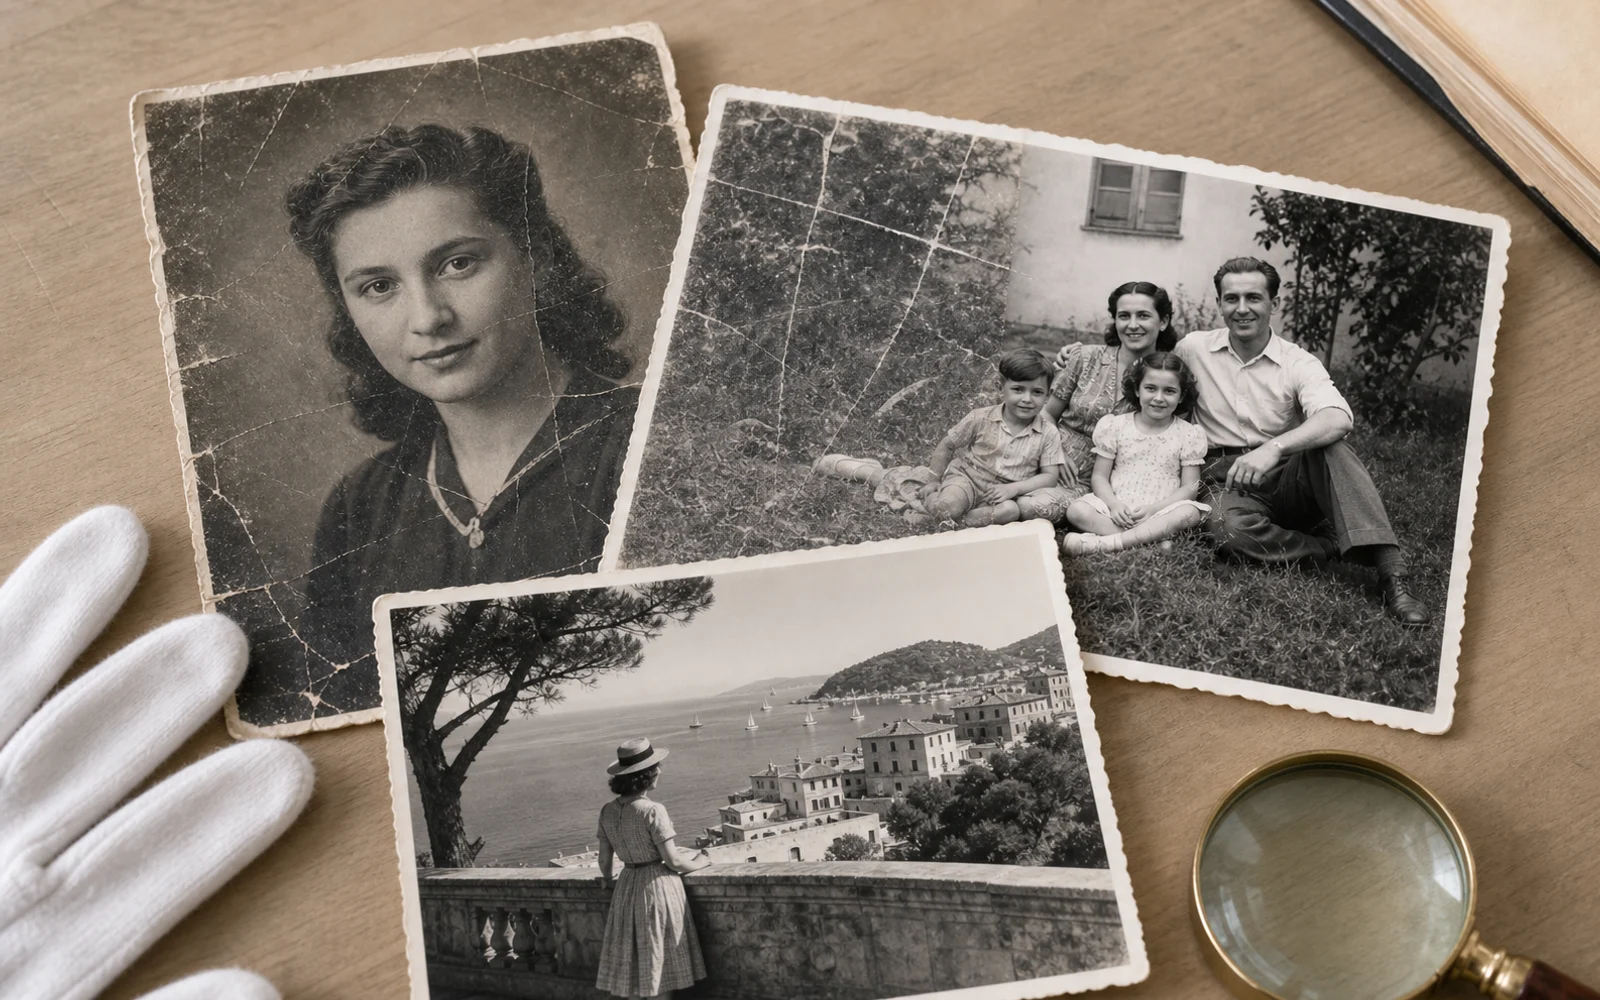
Old Photo Restoration
Repair aged photos
Reduce scratches, fading, blur, and scan damage.
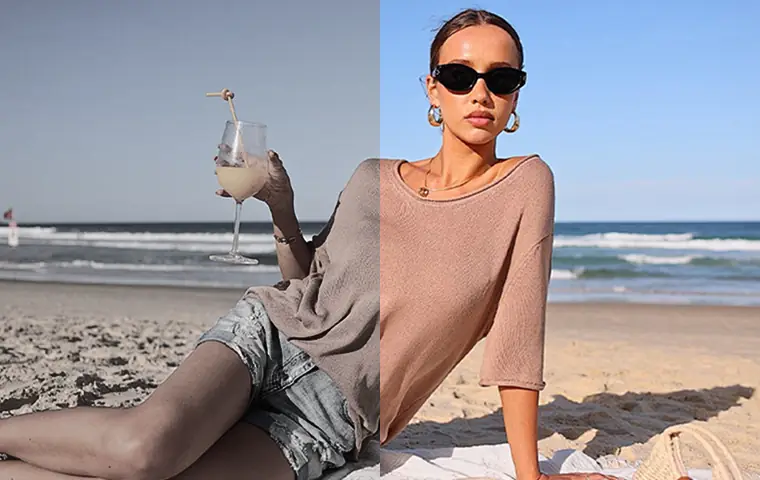
Image Enhancer
Improve quality
Recover detail, color, and clarity.

Image Upscaler
Make it larger
Increase size for export or reuse.
AI Image Editor
Prompt-based edits
Change an image without starting over.
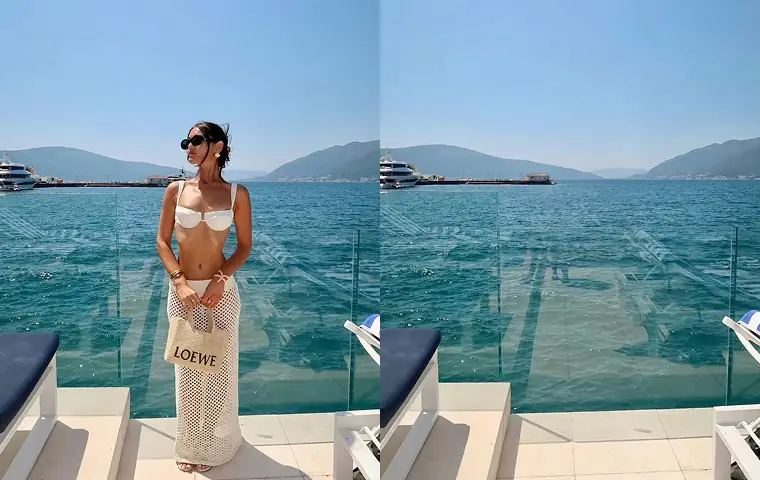
Object Remover
Clean distractions
Remove unwanted objects or people.
AI image tools
More image tools
Create, edit, clean up, or upscale stills.
AI models
Compare image models
Pick a better model before making more versions.
AI video tools
Make it move
Animate a still or turn it into a clip.
Image Sharpener
Sharpen detail
Make soft edges and small details clearer.